
This article covers how to integrate JobAdder with Bilflo.
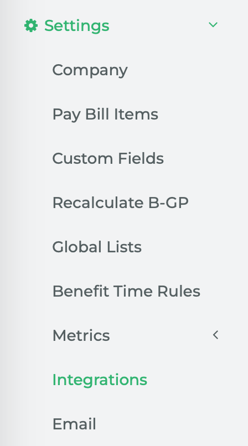
From the Main Navigation, go to Settings > Integrations.
You will see that, currently, there are no integrations set up on the Integrations page.
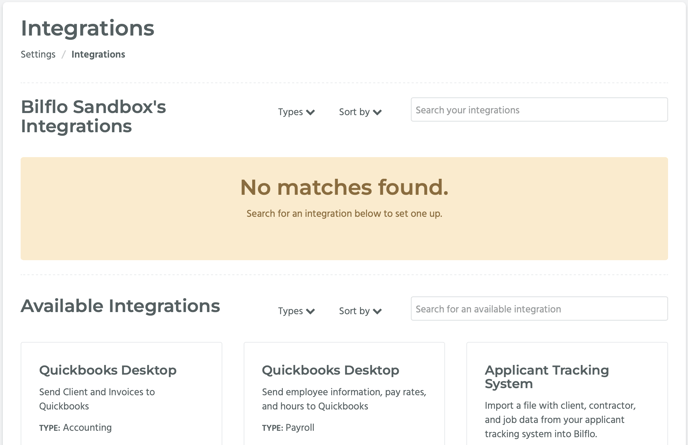
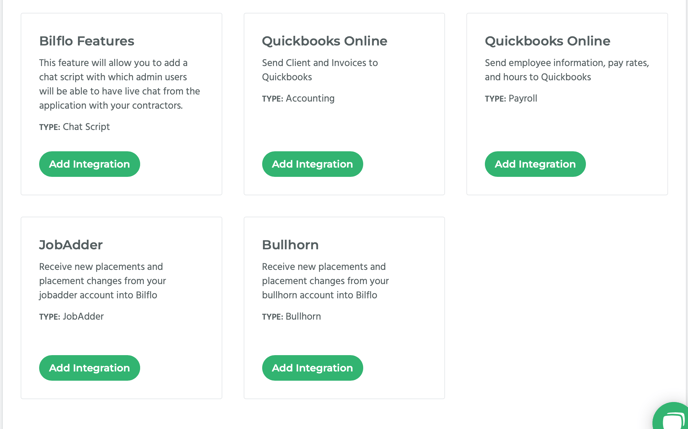
Under Available Integrations you will find the Job Adder card; click on the Add Integration button.
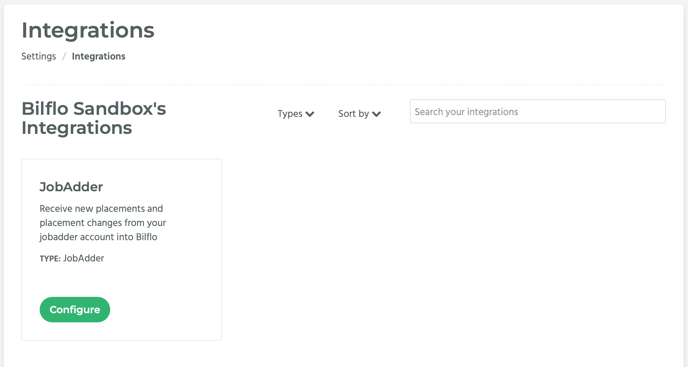
Note that the JobAdder card is now located under your company’s Integrations header at the top of the page. In the Job Adder card, click on the Configure button.
On the left hand side of the JobAdder Configuration page, under Instructions, are instructions on how to set up JobAdder. On the right hand side of the page are some features and areas that allow you to define the job that’s created.
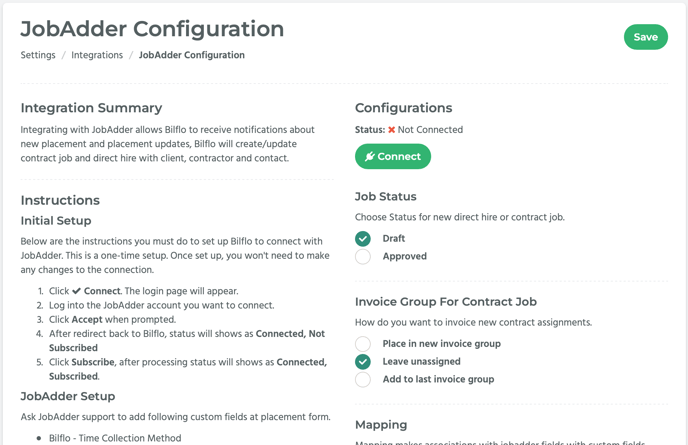
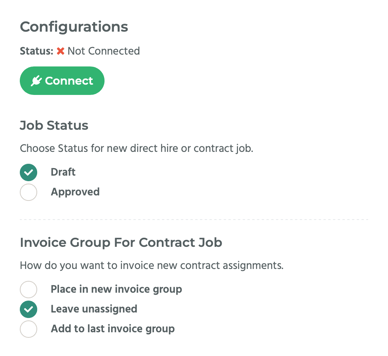
Under Job Status, you can set the job status as either Draft or Approved.
- If Draft is selected, any jobs that are exported from JobAdder into Bilflo will appear on the Approve Jobs page, which can be reached through the Main Navigation: Billing > Jobs > Approve.
- If Approved is selected, while the jobs are displayed throughout the application, you can view them on the Contract Starts page, which can be reached through the Main Navigation: Billing > Contract > Starts.
Under Invoice Group For Contract Jobs, you can assign it to an invoice group.
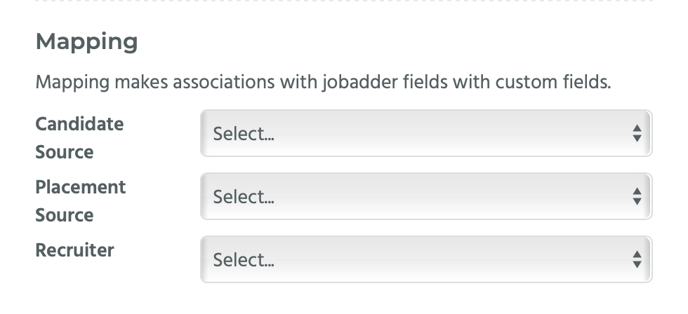
Under Mapping, you can map JobAdder custom fields: Candidate Source, Placement Source, and Recruiter, to Bilflo custom fields by selecting a Bilflo custom field from each respective drop-down menu.
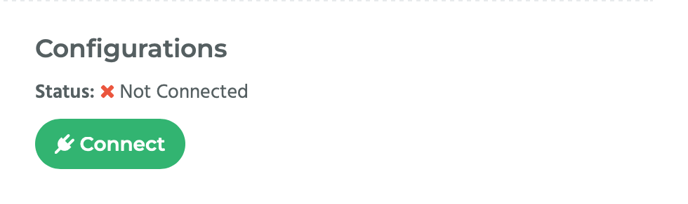
Click on the Connect button, located under Configurations.
You will be redirected to the Job Adder sign-in page. Enter your credentials.
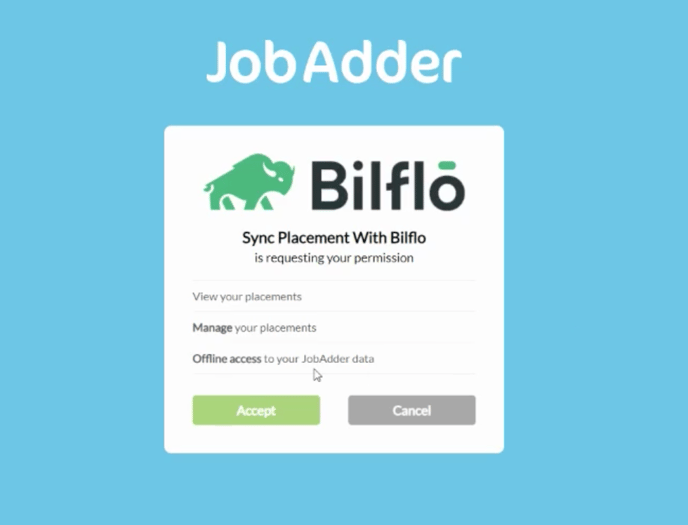
After entering your credentials, a notice will appear saying that, “Sync Placement With Bilflo is requesting your permission.” It will note that it’s requesting your permission to view your placements, manage your placements, and have offline access to your JobAdder data.
Click on the Accept button to agree to give permission to Bilflo to sync with JobAdder.
You will be redirected back to the JobAdder Configuration page.
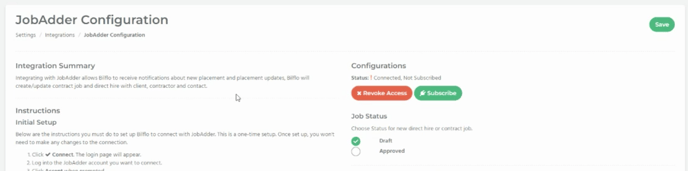
Now, under Configurations, the Status will be “!Connected, Not Subscribed.” There will be two buttons under that labeled, Revoke Access and Subscribe.
Click on the Subscribe button.

A notice saying “Subscribe is successful!” will appear, and the Subscribe button will disappear.

Now, JobAdder is fully integrated with Bilflo.
📎 NOTE: JobAdder does not take any information automatically. The record gets exported from JobAdder to Bilflo once the placement record has been created.