This article covers how to create a new contractor.
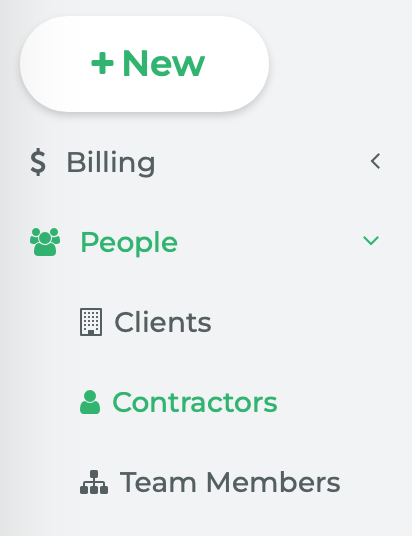
From the main navigation, go to People > Contractors.
This will take you to the Contractors page.
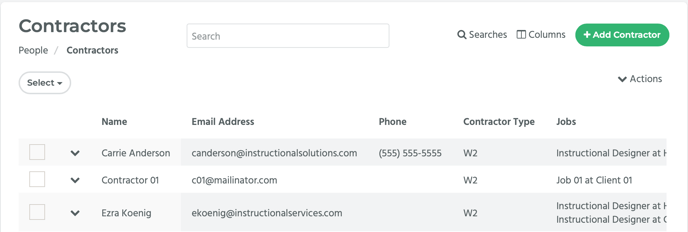
Click on the Add Contractors button located in the top right hand side of the page.

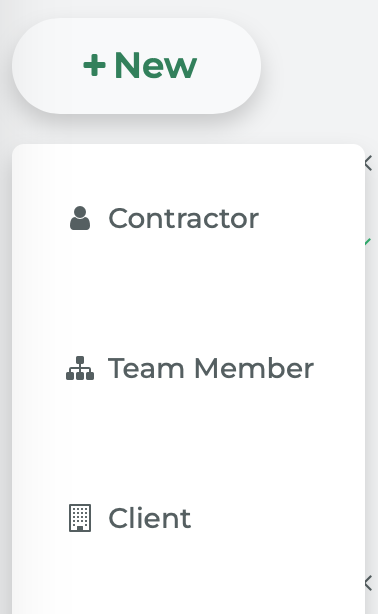
Alternatively, from the main navigation, click on the +New button and select Contractor from the drop-down menu that appears.
Either route will take you to the New Contractor form.
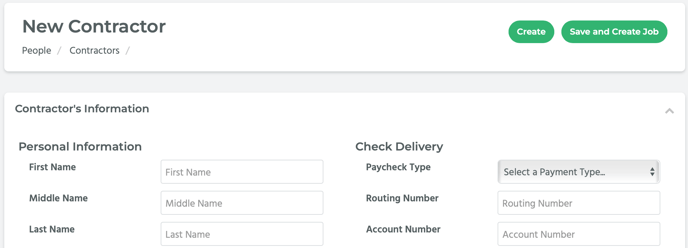
The minimum amount of information you need to enter on the page to create a new contractor is a First Name, Last Name, Email Address, and State. These fields are located under the Personal Information section.
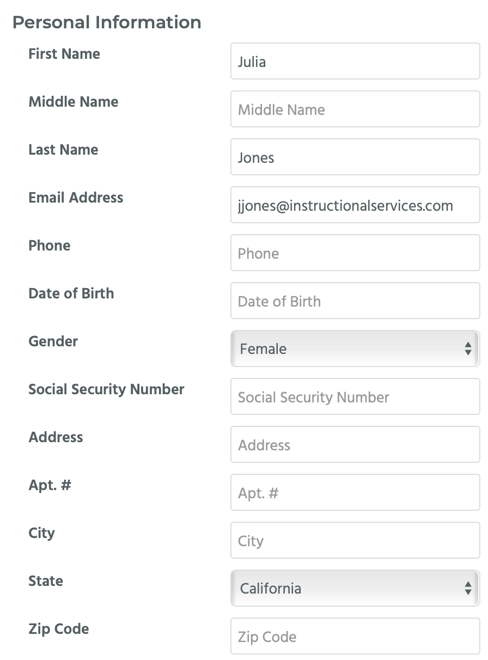
In the Personal Information section, you can also enter other information, such as the contractor’s phone number, date of birth, gender, Social Security Number, and their full home address.
Contractors are identified as a W2 employee by default. However, you can identify them as a 1099 employee by selecting the 1099 Contractor checkbox located under the Zip Code field in the Personal Information section of the page.

A new field titled Company Name will appear. Enter the contractor’s 1099 company name in the field.

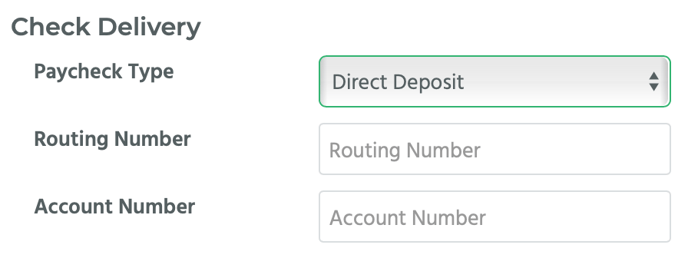
There is also a Check Delivery section. In this section you can select whether the contractor will be paid by direct deposit or check.
If you select Direct Deposit from the Paycheck Type drop-down menu. There are fields available to enter the contractor's Routing Number and Account Number. If you select Check from the Paycheck Type drop-down menu, you don’t have to enter the routing or account numbers.
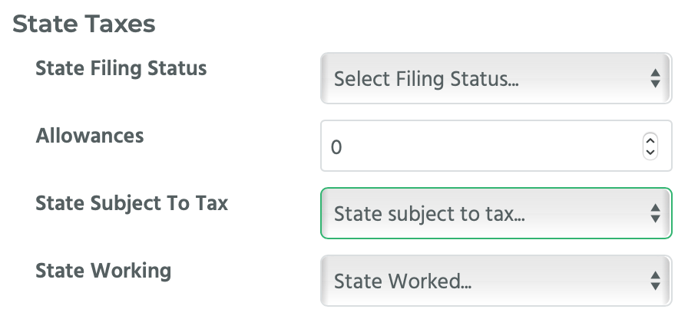
In the State Taxes section, there are several fields. The first field is the State Filing Status drop-down menu. The options are: Single, Married 1 Income, Married 2 Income, Head of Household, and Don’t Withhold.
Under that is a numeric field for entering any Allowances. For the State Subject to Tax drop-down menu you select the state where the contractor’s residence is located. For the State Working drop-down menu you select the state where the business that the contractor is working for is located.
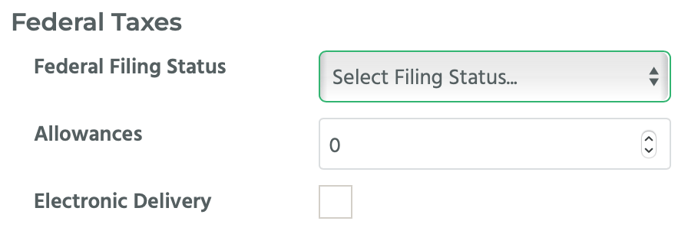
In the Federal Taxes section, there are several fields. The first field is the Federal Filing Status drop-down menu. The options are: Single, Married, Married using Single Rate, and Don’t Withhold. There’s a numeric field for entering Allowances, and also an Electronic Delivery checkbox, which you can select if the contractor wants the taxes to be delivered electronically.
Under the Contractor’s Jobs section, you can enter a Start Date (which reflects when they will, or have, started work) and select either Full-Time or Part-Time from the Work Status drop-down menu.

In the Contractor’s Benefits section, you can enable Health Insurance by selecting the Enable Health Insurance checkbox.

If you select the checkbox, new fields will appear such as an Eligibility Date, a Termination Date, Enroll Status, Offer of Coverage, Employer Monthly Cost, Employee Monthly Cost, and Insurance Plan.
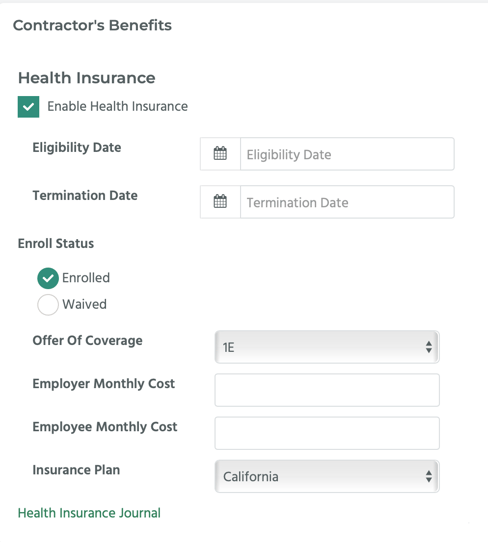
Eligibility Date is the date when the contractor becomes eligible for insurance, the Termination Date is when the contractor ends their job. The Enroll Status has two radio buttons: Enrolled or Waived. Select Enrolled if the contractor wants to be enrolled in the insurance plan, and Waived, if they don’t. The Offer of Coverage drop-down menu has several options, select the one you want. Employer Monthly Cost is the dollar amount the employer pays for the insurance plan per month, and the Employee Monthly Cost is the dollar amount the employee pays for the insurance plan per month. The Insurance Plan drop-down menu is pre-populated with the state that the contractor lives in.
After you have entered the contractor’s information, click on the Create button to create the new contractor.

Or you can click on the Save and Create Job button.
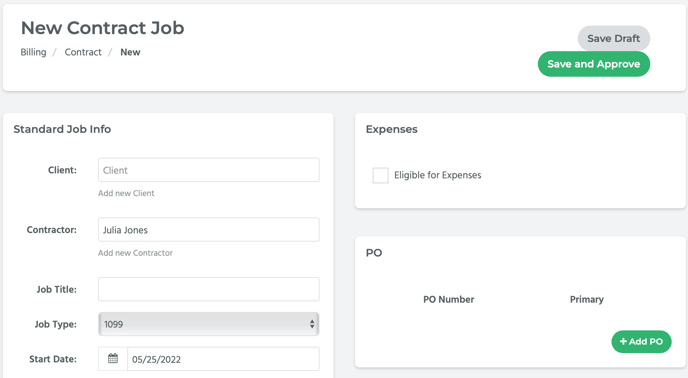
This will create the new contractor and then take you to the New Contract Job page with pre-populated information from the new contractor profile.
