This article covers two different methods available for creating new clients.
Method 1
From the main navigation, go to People > Clients.
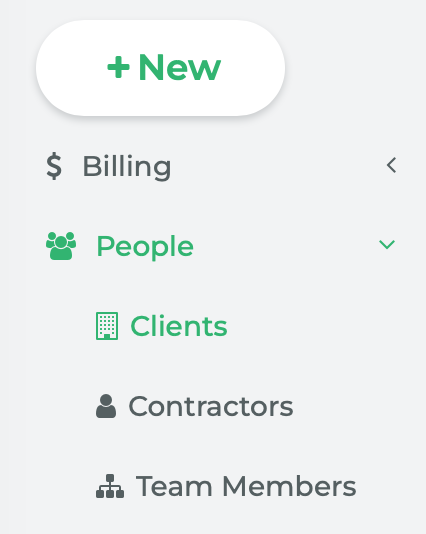
This will take you to the Clients page where all of the clients are listed.
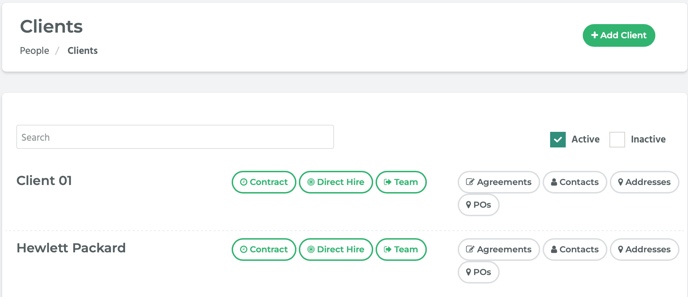
To create a new client, click on the Add Client button located in the top right hand side of the page.

A pop-up window titled, “Add Client,” will appear. Enter the client’s business name into the Business Name field, then click on the Create button.

The new client has been created and will be listed on the Clients page.
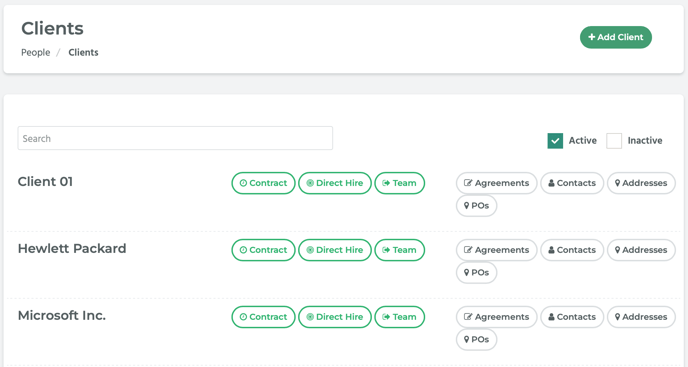
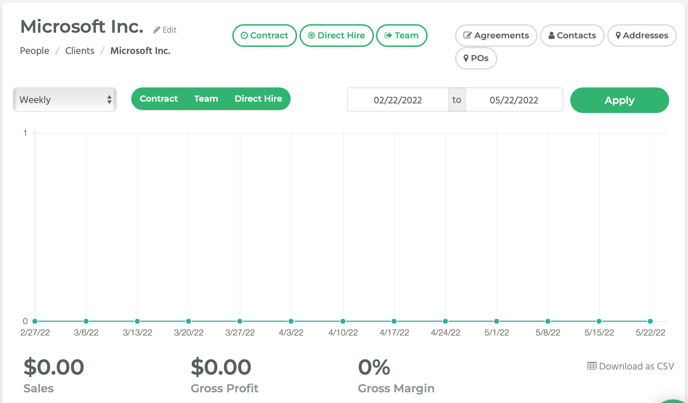
To view the new client’s detail page, locate the client and click on its name. This will take you to its detail page.
Method 2
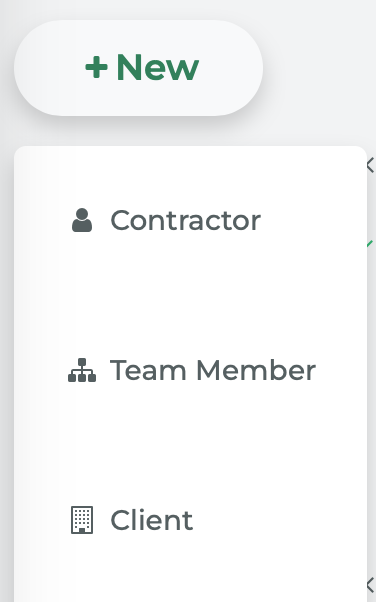
Alternatively, from the main navigation, click on the +New button. Select Client from the drop-down menu.
A pop-up window titled, “Create New Client,” will appear. Enter the client’s business name into the Business Name field.

If you just want to create the client, click on the Create button. If you want to create the client AND view their detail page, click on the Create and View button.
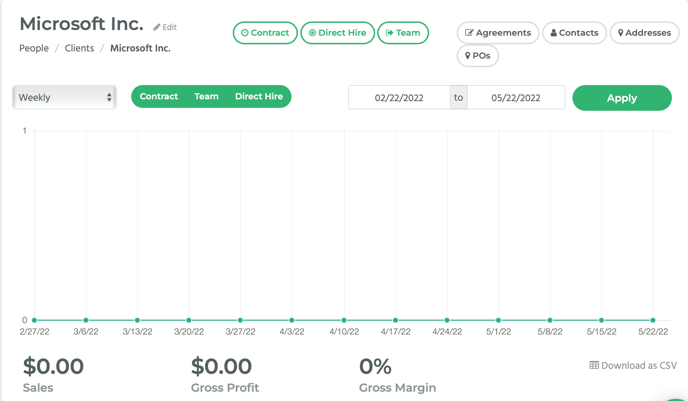
The client detail page initially shows any gross profit and sales and invoices you have with this client. To learn more about the client detail page, refer to the How to Manage Clients article.
