
This article covers how to create new team members and edit their detail page.
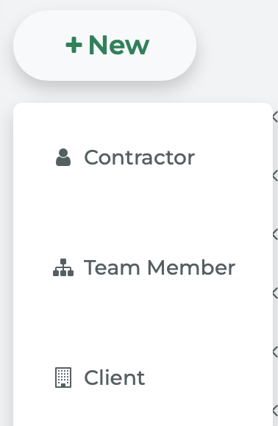
To create a new team member, from the main navigation go to +New > Team Member.
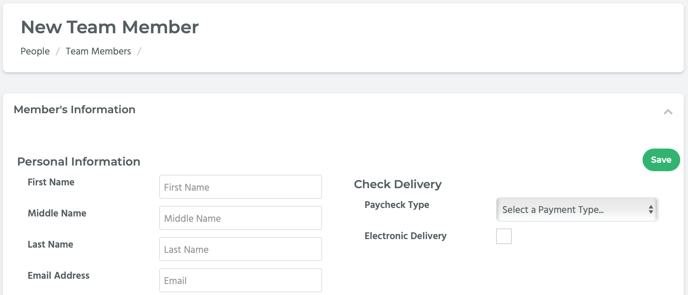
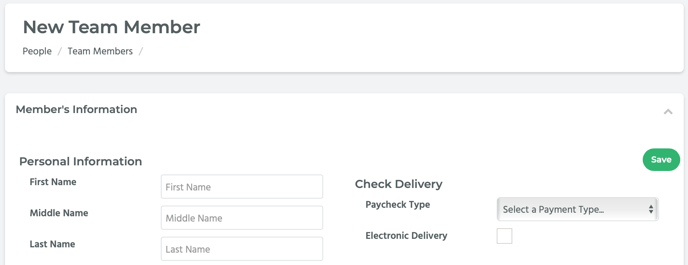
This will create a page titled, “New Team Member.” On this page you will enter the new team member’s relevant information.
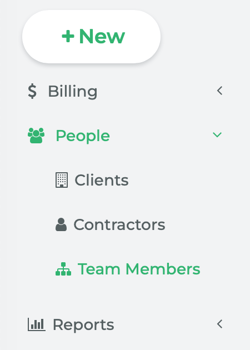
Alternatively, to create a new team member, from the main navigation, go to People > Team Members.
This will take you to the Team Members page where all of the team members are listed.
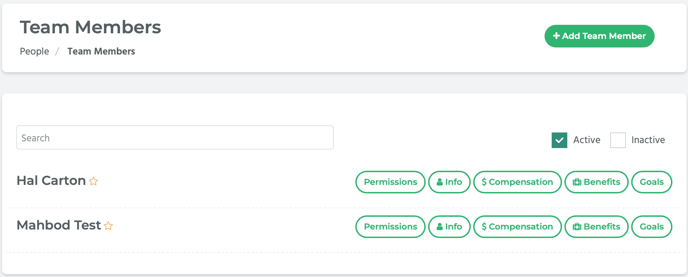
Click on the Add Team Member button located on the top right hand side of the page.

Once you are on the New Team Member page, add the necessary information into the provided fields.
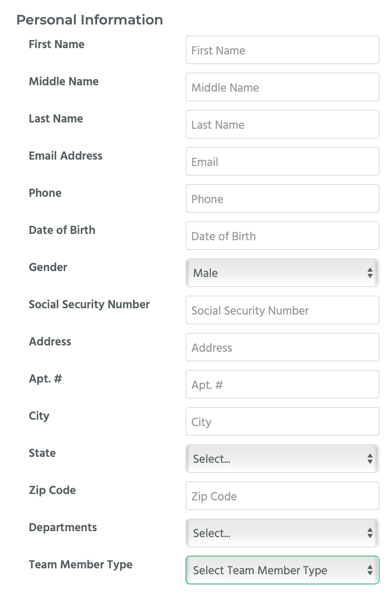
How to Add a Team Member’s Personal Information
Under the Personal Information section, there are several different fields. Enter the team member’s First Name, Middle Name, Last Name, Email Address, Phone number, etc. in the provided fields.
📎 NOTE: You will need to select a department from the Departments drop-down menu if you want to Sync and pay in accounting (reference the How to Track a Team Member’s Compensation section of this article for more information). Also, Team Member Type has three different options: W2, 1099, and None. This is for tax purposes. Select it as necessary.
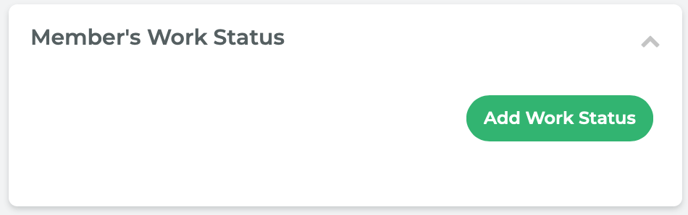
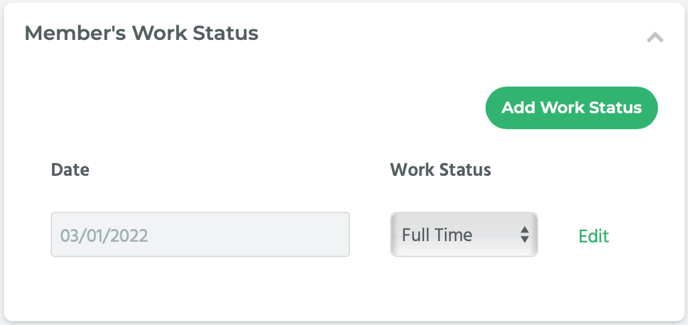
How to Add a Team Member’s Work Status
Under the Member’s Work Status section, click on the Add Work Status button.
A Date field and a Work Status drop-down menu will appear.
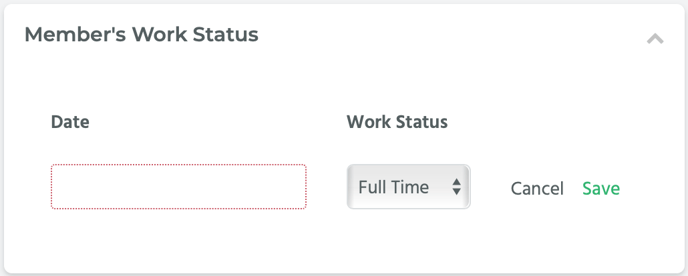
Enter the date the Team Member started into the Date field, and select the Team Member’s work status (Full-Time, Part-Time, or Term) from the Work Status drop-down menu. Then click on the Save link.
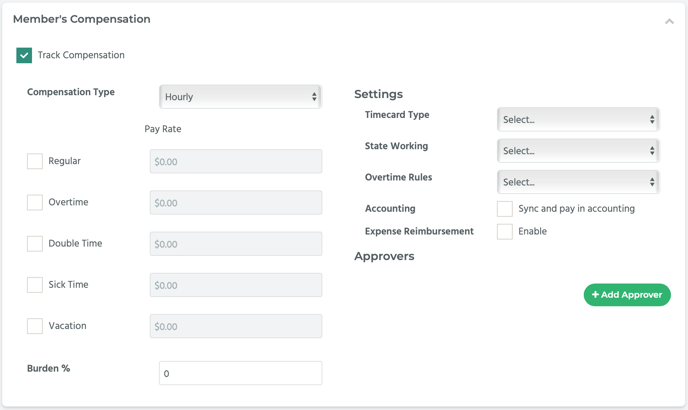
How to Track a Team Member’s Compensation
In the Member’s Compensation section, select the Track Compensation checkbox.

A bunch of new fields will appear, such as a Compensation Type drop-down menu, various Pay Rate fields, and a Settings and Approvers section.
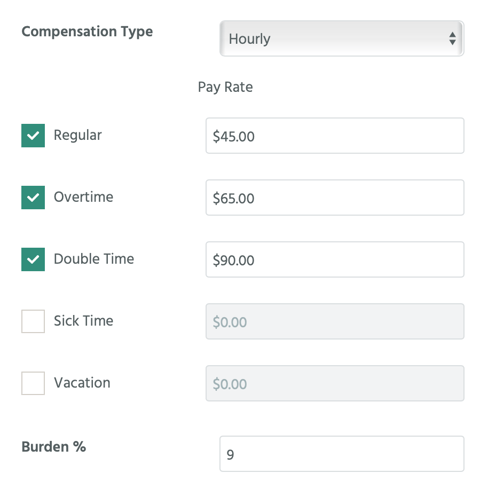
The Compensation Type drop-down menu has three different options: Hourly, Salary, or None.
If you select Hourly, under Pay Rate, there will be several different Pay Bill Items. Select the checkbox next to the item you’d like to track, and then enter the monetary amount into the appropriate field. In the Burden % field, enter a numerical value.
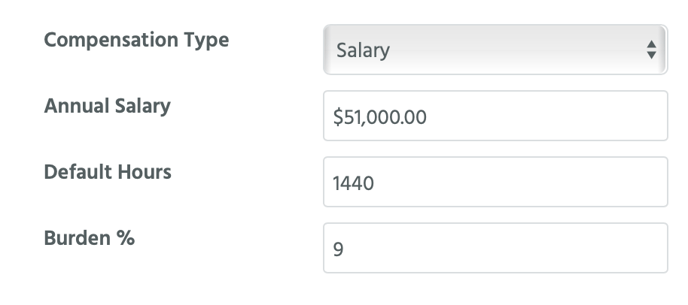
If you select Salary from the Compensation Type drop-down menu, the fields under Pay Rate will change to Annual Salary and Default Hours. Burden % will remain. Enter a monetary value for Annual Salary, total amount of hours the team member is expected to work annually for Default Hours, and a numerical amount for Burden %.
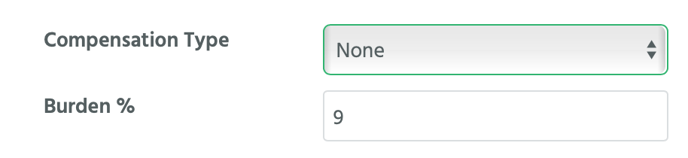
If you select None from the Compensation Type drop-down menu, only the Burden % field will remain. Enter a numerical value into the Burden % field.
After you’ve set up the team member’s compensation type, you can set the compensation settings under Settings. In this section there are several drop-down menus and checkboxes.
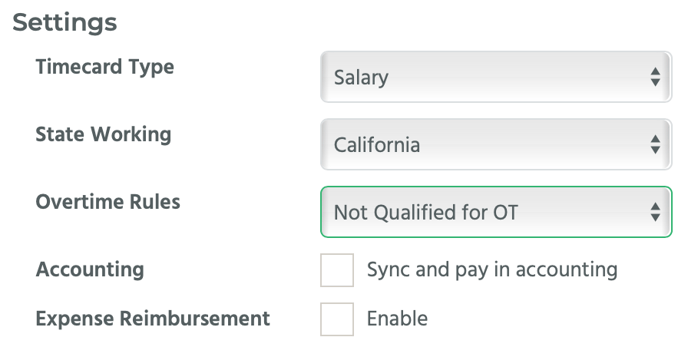
If you have chosen Hourly as the Compensation Type, the Timecard Type drop-down menu will have three options: Clock In/Out, Daily Timecard, and Salary. Choose the one that matches your needs.
📎 NOTE: The Timecard Type drop-down menu options change when the Compensation Type is Salary; then, Timecard Type drop-down menu only has one valid option: Salary.
The State Working drop-down menu lists every U.S. state. Select the state the team member is working in.
The Overtime Rules drop-down menu will populate based on which state you select from the State Working drop-down menu. Select the appropriate overtime rule from the drop-down menu.
For the Accounting field, you have the option to select the Sync and pay in accounting checkbox. NOTE: You need to have selected a department from the Departments drop-down menu under the Personal Information section otherwise you will get an error message that says, “Can’t save the Sync and pay in accounting when department is not selected.”
For the Expense Reimbursement field, you have the option to select the Enable checkbox.
How to Add Timecard Approvers
Under the Settings section is the Approvers section. Here you can add Timecard approvers. Click on the Add Approver button.

A drop-down menu populated with other team members and an Add button will appear.

Select a team member from the drop-down menu and then click on the Add button.
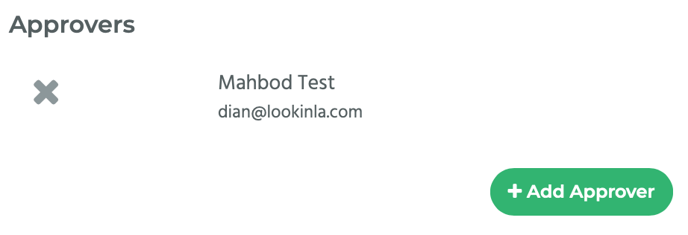
Repeat the previous steps to add as many approvers as you want.
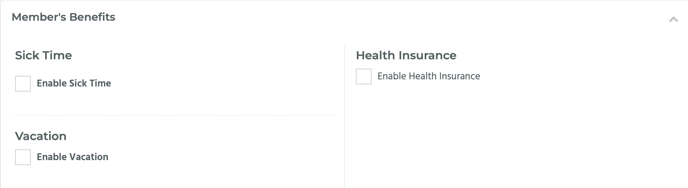
How to Add Team Member Benefits
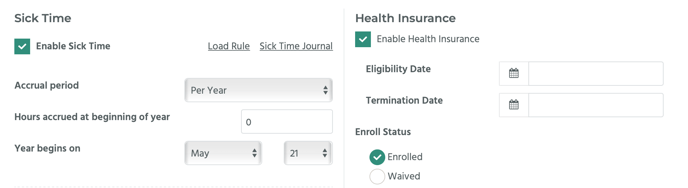
Under the Member’s Benefits section you can add various benefits such as Sick Time, Vacation, and Health Insurance. Under each of these sections, select the Enable checkbox to enable the benefit.
📎 NOTE: Health Insurance is used for administrative purposes only. This section can be used to identify if an employee is eligible for health insurance with the company and has either Enrolled or Waived the health insurance.
Selecting the Enable checkbox for any of these benefits will add extra fields where you can enter necessary information for the benefit.
We will cover Member Benefits in a different article.
How to Set a Team Member’s Check Delivery
In the Check Delivery section is a Paycheck Type drop-down menu with two options: Live Check or Direct Deposit, and an Electronic Delivery field with a checkbox.
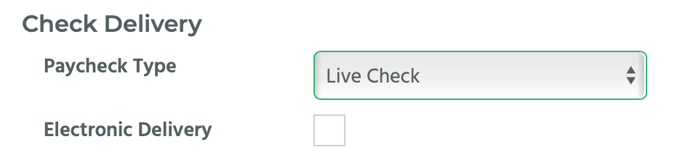
Select the paycheck type from the drop-down menu.
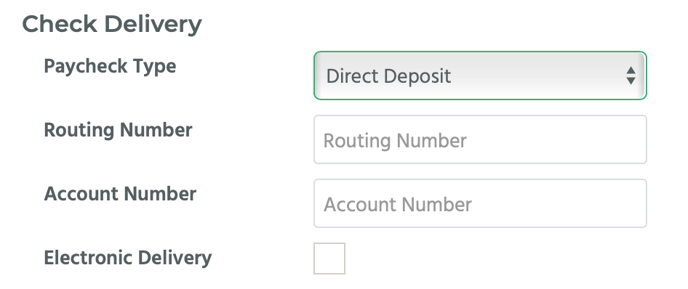
📎 NOTE: If you select Direct Deposit, two new fields, Routing Number and Account Number, will appear. Enter the team member’s bank routing number and account number into the appropriate fields.
Select the checkbox next to Electronic Delivery if you want to have the paycheck delivered electronically.
After you have finished adding all of the necessary information to the New Team Member page, click on the Save button located on both the top and bottom right hand side of the page.
