
This article covers how to edit invoice line values, add line item values for contract hires, how to create and set different versions of an invoice, how to email a copy of the invoice, and more.
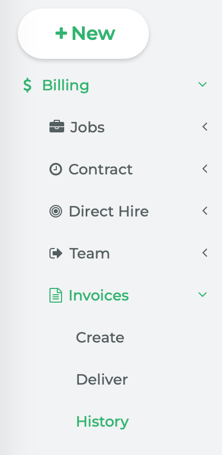
From Main Navigation, go to Billing > Invoices > History.
The Invoices History page displays invoices that have been created. The table on the Invoice History page has several columns: Client, Description, Type, Invoice Number, Amount, and Date.
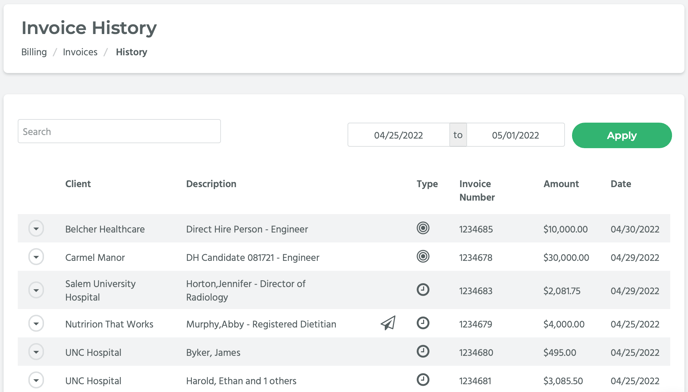
To view the invoice on the Invoice Detail page, click on the Amount value of a record of your choosing. Alternatively, each record has an arrow button. Click on the arrow button. A dropdown menu will appear with a list of options, select Preview. This will take you to the Invoice Detail page.
📎 NOTE: Once an invoice has been created, a timecard’s Status goes from Approved to Processed. The same goes for Direct Hire records.
How to Add a Line Item to an Invoice for Contract Hires
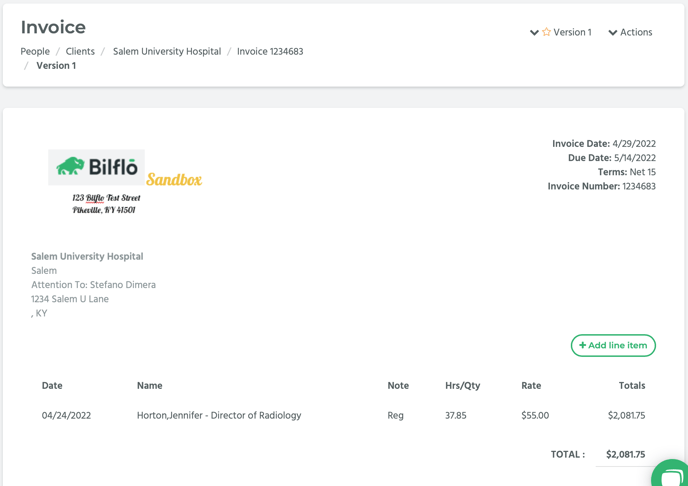
On the invoice detail page, click on the Add line item button.

📎 NOTE: The Add line item button only appears for invoices with contract hires, NOT direct hires.
A pop-up window titled, “Add Line Item,” will appear. It will direct you to choose a billing item to add to the invoice.

The contractors and/or direct hires are listed in the pop-up window, with several Custom Pay Bill Items listed below each contractor/direct hire’s name.
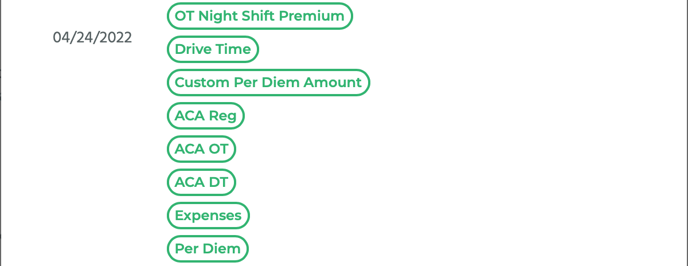
You can also select Custom Pay Bill Items for specific pay periods. Under each contractor/direct hire’s names are also pay periods. The Custom Pay Bill Items you can add to each specific pay period are listed below it.
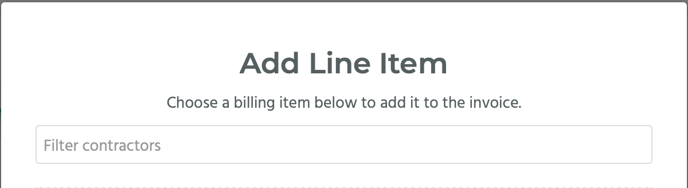
You can also filter contractors. At the top of the Add Line Item pop-up window is a Filter contractors search bar. Enter the name of the contractor you are looking for into the search bar. Only that contractor will be displayed in the pop-up window.
Click on a Custom Pay Bill Item to add it to the invoice. When you click on a Pay Bill Item, a pop-up window titled, “Invoice Line Details,” will appear.
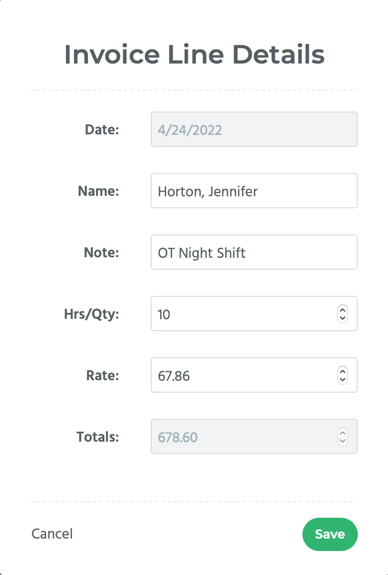
It will have several fields: Date, Name, Note, Hrs/Qty, Rate, and Totals. The Name and Note fields are auto-filled with the name of the Pay Bill item you selected. However, the Name field should reflect the contractor’s name. Change the value in the Name field to the contractor’s name. The Date and Total field values are set by the system and can’t be manually changed. Enter the appropriate values for the Hrs/Qty and Rate fields.
📎 NOTE: The Rate field may be auto-filled with the rate that was set on the Contract Job page.
Then, click on the Save button.
The line item has now been added to the invoice.
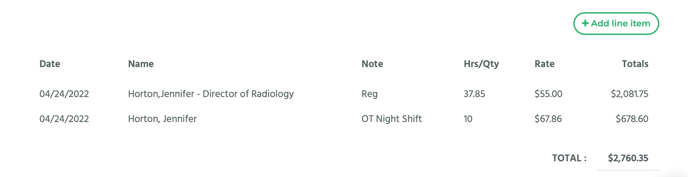
To add another Line Item to the invoice, click on the Add line item button and repeat the prior steps as much as necessary.
How to Edit an Invoice Value
Click on the record you want to edit.

A pop-up window titled, “Invoice Line Details,” will appear.
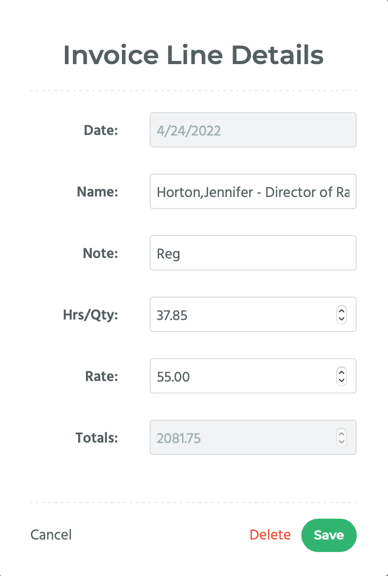
In this pop-up window will be the Date, Name, Note, Hrs/Qty, Rate, and Totals for this record. The Date and Totals cannot be edited manually, but you can edit the contractor/direct hire’s name, the note, the hours or time quantity, and the pay rate.
Enter your changes into the relevant field or fields, and then click on the Save button.
How to Change an Invoice’s Address
Click on the address located in the top left hand side of the page.

A pop-up window titled, “Addresses,” will appear. There may be several addresses listed in the pop-up window. These addresses are drawn from the company’s Detail page.
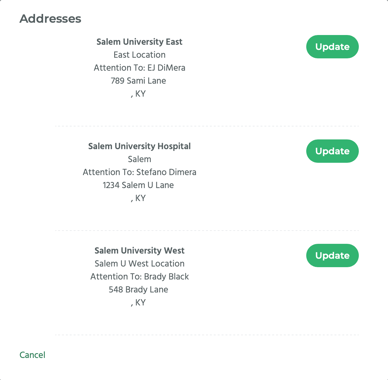
Choose which address you want, and then click on its Update button. The invoice has now been changed to reflect your choice.
How to Change an Invoice’s Details
In the top right hand side of the page are the Invoice Date, Due Date, Terms, and Invoice Number values. Click on that section of the page.
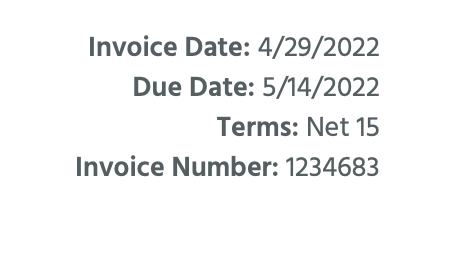
A pop-up window titled, “Invoice Details,” will appear. In this pop-up window you can edit the Invoice Number, Invoice Date, and Terms manually by entering a different value into the Invoice Number or Invoice Date fields, or selecting a different net terms value from the Terms drop-down menu.
📎 NOTE: Terms stands for “Net Terms,” which means the number of days that the invoice is due after the start date. For example, Net 7 means that the invoice is due 7 days after the start date. The Due Date is calculated based on the net term value you selected from the Terms drop-down menu and the Start Date. This cannot be overridden.
[img15]
After you have made your changes, click on the Update button.
How to Save Your Edits
After making edits, a warning message will appear at the top of the invoice details’ page saying, “this version has been edited but not saved. Save as new version or disregard changes.”

Click on the Save as new version link.
A notification will appear saying, “New version for the invoice is created successfully.”
📎 NOTE: This will update all of the values across Bilflo for the Bill Rate or Bill Quantity.
How to View a PDF of the Invoice
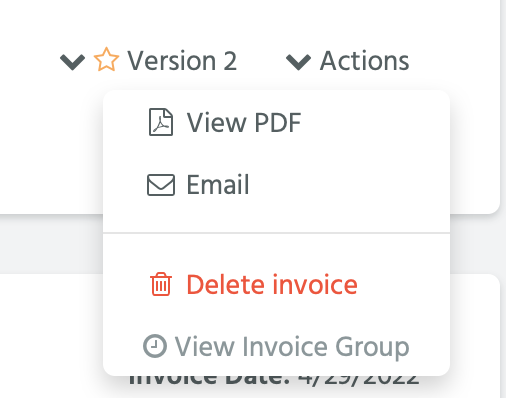
From the Actions drop-down menu located in the top right hand side of the page, select View PDF.
A PDF of the invoice will open in a new tab.
How to View Previous Versions of an Invoice
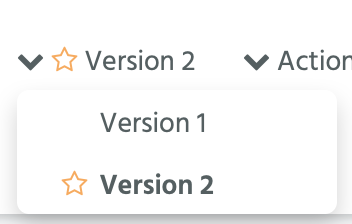
From the Version drop-down menu located in the top right hand side of the page, select a different version (such as Version 1). The current version will have a star icon by it.

The invoice page will change back to its former state.
How to Make an Invoice Version the Primary Version
Setting an invoice as the primary version means that any updated values on that invoice will update the rest of the values throughout the application so everything is up to date when you're invoicing your client.
Set the page to the version you want to make primary by selecting that version from the Version drop-down menu.
Then, from the Actions drop-down menu located in the top right hand side of the page, select Make Primary.

The current version of the invoice page is now the primary version, which means it will be this invoice page’s values that populate Bilflo.
How to Delete an Invoice
From the Actions drop-down menu, select Delete Invoice.
The invoice has now been deleted.
How to View an Invoice Group
From the Actions drop-down menu, select View Invoice Group.
This will take you to the Invoice Groups page.
How to Email an Invoice
From the Actions drop-down menu, select Email.
A pop-up window titled, “Email Invoice,” will appear.
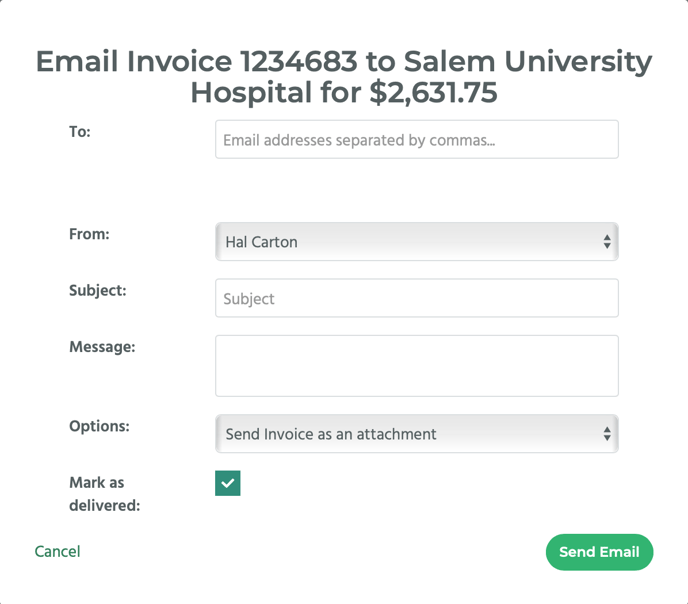
- Enter the email addresses of the people you want to send the invoice to in the To: field, separated by commas.
- Select either your name or your company’s name from the From: drop-down menu.
- Enter the email subject into the Subject: field, and the body of the email into the Message: field.
- From the Options drop-down menu, select either Send Invoice as an attachment, or Send Invoice as a link.
- Check Mark as Delivered if you want Bilflo to recognize that the invoice has been delivered (meaning that it will show up on the Invoice Delivery History page, instead of the Invoice Delivery page).
Then, click on the Send Email button.
A notification saying, “Email sent!” will appear.