
This article covers the steps how to integrate Bullhorn account to BIlflo
From the navigation menu, click Settings > Integrations.

This will take you to the Integrations page.
Scroll down to Available Integrations and click the Add Integration button in the Bullhorn box.

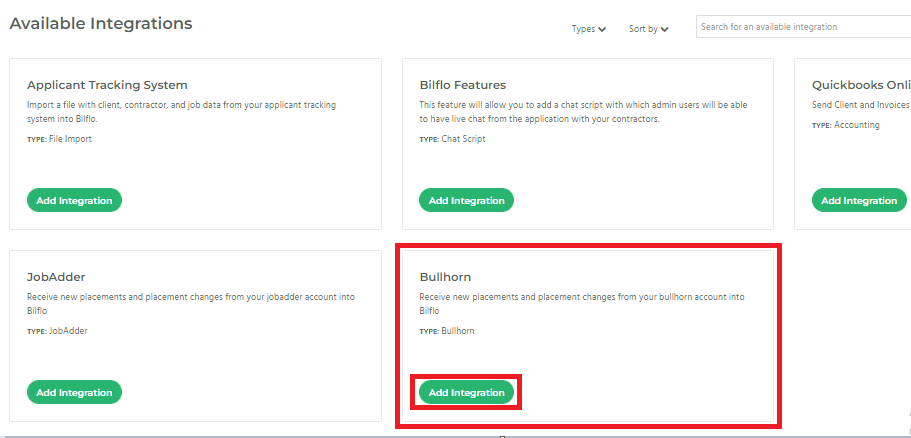
After you click the Add Integration button, the Bullhorn box will be moved to the Company Integrations section.
Once the Bullhorn integration has been added, click the Configure Button..

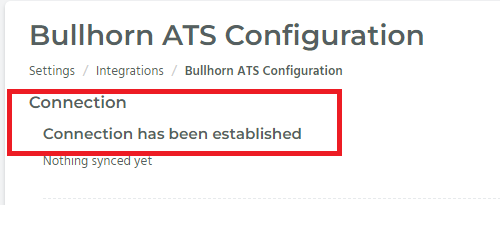
This will take you to the Bullhorn ATS Configuration page.
To set up your account, click the Login with Bullhorn button.

This will take you to Bullhorn’s login page.
Log in with your registered Bullhorn email address and password and click the Login button.

After you log in to Bullhorn, you will be redirected to Bilflo.
If you have successfully set up your Bullhorn account, it should display Connection has been established under the Connection settings.
To track Bullhorn’s Placement field to a field within Bilflo, click the Add Mapping button under the Map Tracking Fields section.
.

Select the appropriate fields you wish to track and choose from the dropdown options and click the Save button.

To track Bullhorn’s Placement fields to a PayBill Item, click the Add Mapping button under the PayBill Mapping section.

Select the appropriate fields you wish to track and choose from the dropdown options and click the Save button.

Once the configuration is set up correctly, any new placements records created in Bullhorn will create records in Bilflo. Once the records are created in Bilflo, you can continue to create/update contract/direct hire jobs/assignments as well as client/contractor/and client contact information.