
This article covers how to filter and view your invoice history. It also covers how to preview, download, email, and delete an invoice, as well as view an invoice's audit trail.
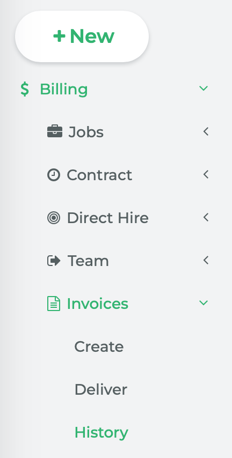
From Main Navigation, go to Billing > Invoices > History.
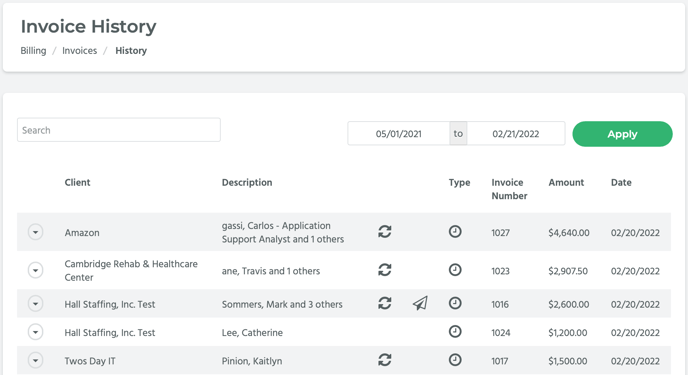
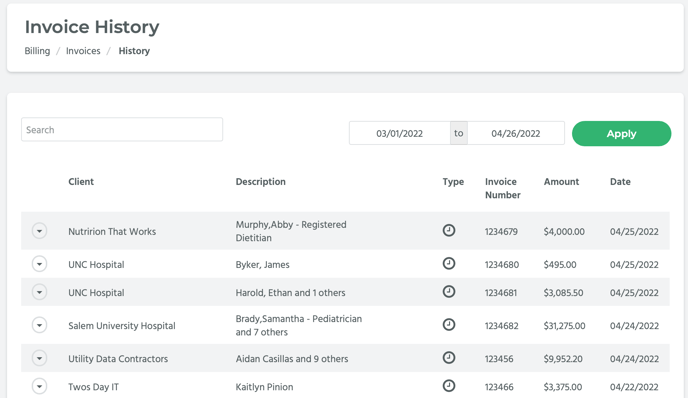
The Invoices History page displays invoices that have been created. The table on the Invoice History page has several columns: Client, Description, Type, Invoice Number, Amount, and Date.
📎 NOTE: If a record has a paper airplane symbol then that means the invoice was delivered. And if it has a cycle symbol that means that the invoice has been synced/exported to accounting.
How to Filter by Date
At the top of the page are two date fields, Start Date and End Date. In the first field, enter a start date and in the second field enter an end date. Click on the Apply button.
This will filter the records shown on the page to only those with an invoice creation date (listed under the Date column) that falls between the two dates you entered.
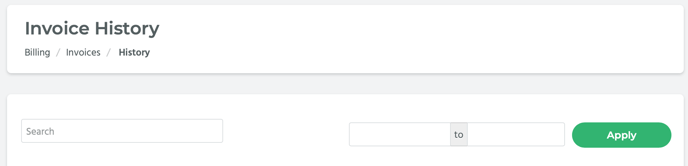
How to Filter by Search Box
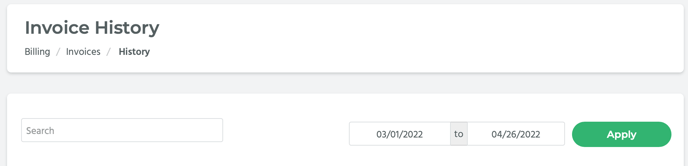
In the Search box at the top of the page, enter either a contractor, direct hire, team, or client name.
Now the page will only display records with that contractor, direct hire, team, or client name.
📎 NOTE: You can use both the date field and Search box together to refine your filtering.
Invoice History Other Functions
Each record has an arrow button. Click on the arrow button. A dropdown menu will appear with a list of options: Preview, Download, Email, Audit Trail, and Delete.
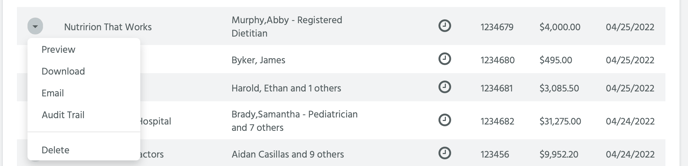
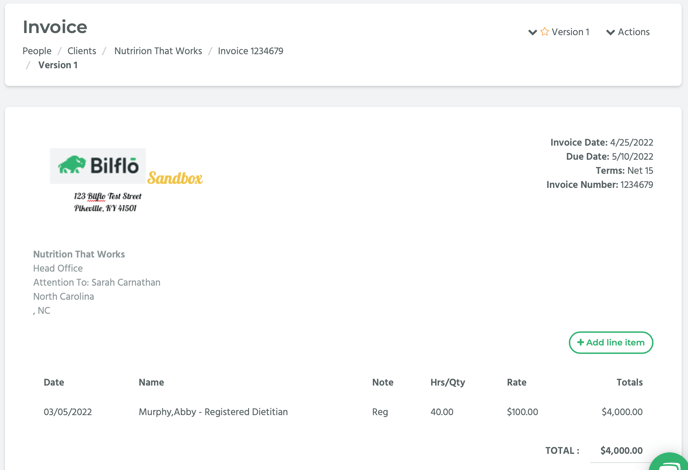
Preview
If you select Preview, you will be taken to a preview page of the invoice.
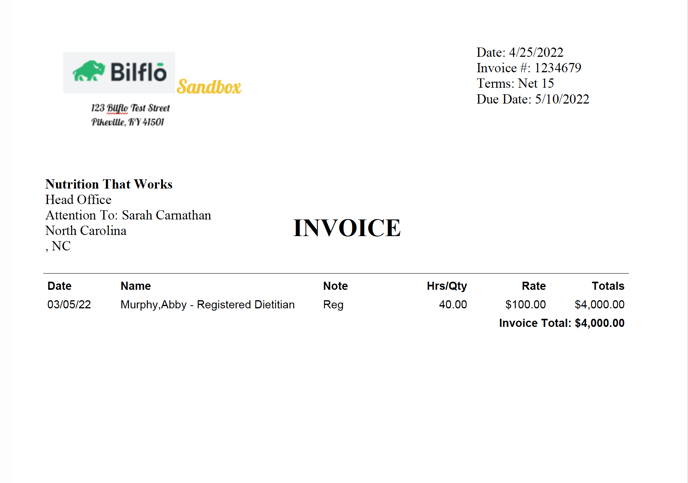
Download
If you select Download, a PDF copy of the invoice will be downloaded to your computer.
The Email option allows you to email a copy of the invoice. If you select Email, a pop-up window will appear.
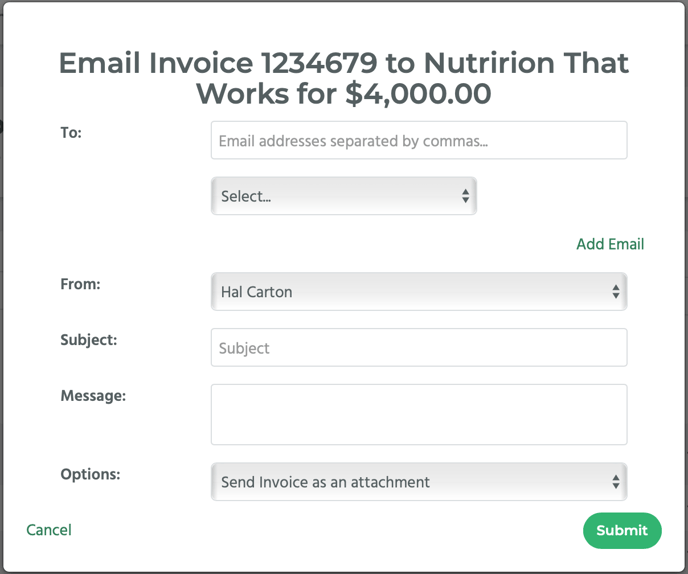
- In the To: field enter the email addresses of the people you want to send the invoice too, separated by commas. Alternatively, in the drop-down menu under the To: field, you can select a client contact whose email is listed on the client’s Contacts page.
- For the From: drop-down menu, select either the name of your company or your own name.
- Enter the subject of the email in the Subject: field.
- Enter the body of the email in the Message: field.
- The Options: drop-down menu has two options: Send Invoice as an attachment and Send Invoice as a link. Select the option you want.
Then click on the Submit button.
A notification saying, “Email sent!” will appear.
Audit Trail
If you select Audit Trail, a pop-up window will appear.
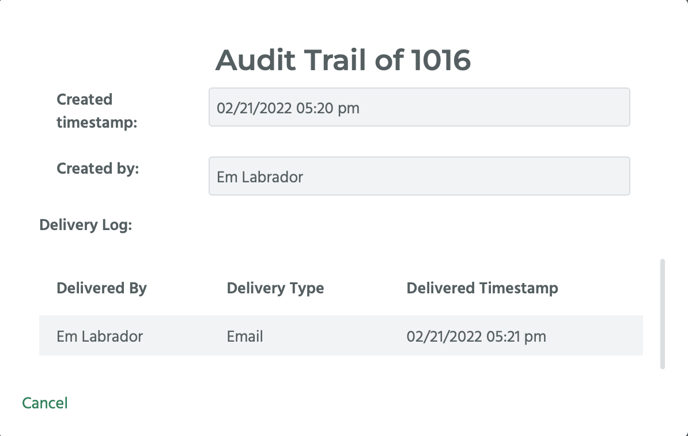
This will show a timestamp of when the invoice was created, who the invoice was created by, and the Delivery Log, which shows whether the invoice was delivered, and if it was, who it was delivered by, the delivery type, and a timestamp of when it was delivered.
Click on the Cancel link to close the pop-up window.
Delete
If you select Delete, a pop-up window will appear asking if you want to delete the invoice.
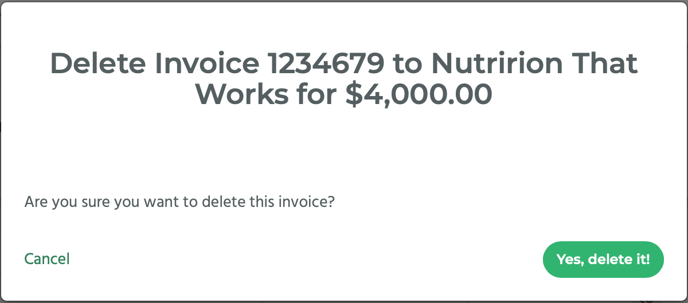
Click on the Yes, delete it! button to delete the invoice.