
This article covers how to add a client address to an invoice, how to set up a default invoice group, and how to change an invoice group name.
Once you create a contract job, you are redirected to the Invoice Groups page.
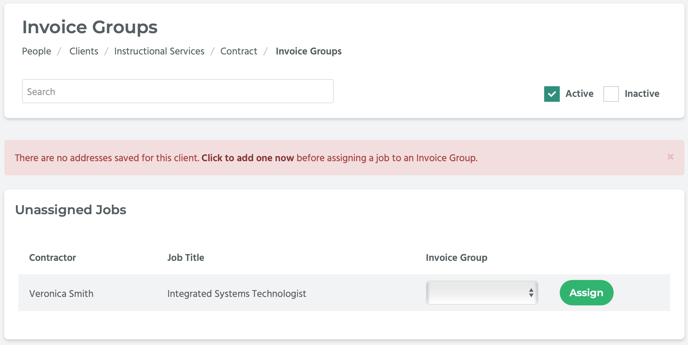
How to Add a Client Address
If there are no addresses saved for this client, you can click on the Click to add one now link.

A pop-up window titled, “Add Address,” will appear.
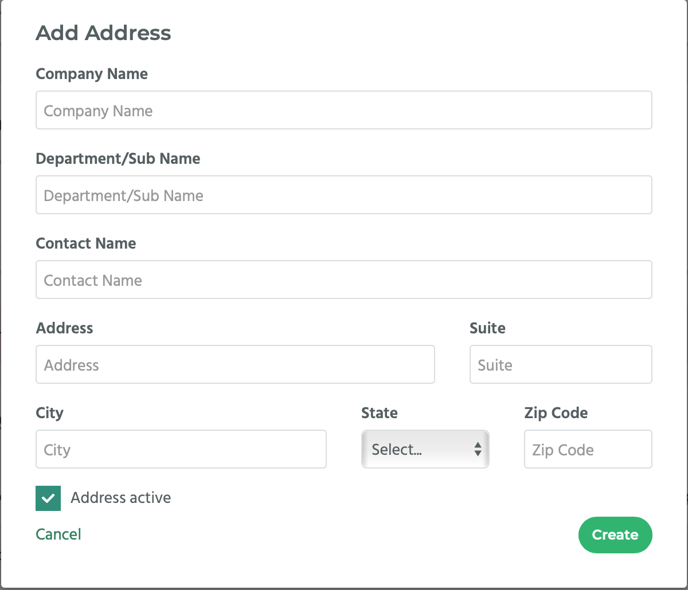
- In the Company Name field enter the client’s name.
- In the Department field enter the client’s department.
- In the Contact Name field enter the client contact’s name.
- In the Address field enter the client’s street address.
- In the City, State and Zip Code fields enter the city, state, and zip code where the client is located. *State is required.
- Ensure Address Active is checkmarked.
- Then, click on the Create button.
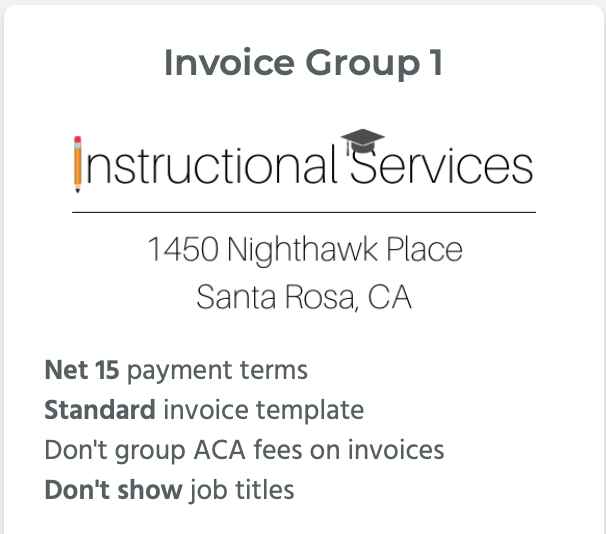
Note that a Default Invoice Group has now been created.
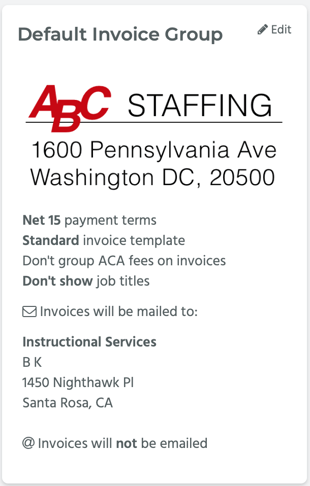
Edit the Default Invoice Group's Details
Click on the Edit link located in the right hand corner of the Default Invoice Group block.
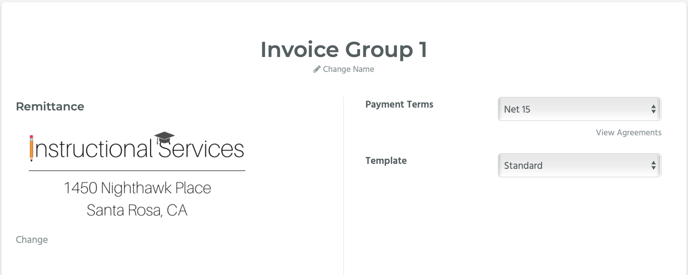
This will take you to that client’s Default Invoice Group page.
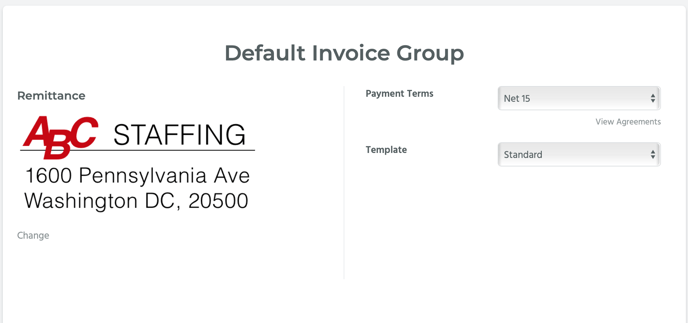
On this page are several fields. Let’s go over the different sections.
Remittance
In the Remittance field, you can add an image. The remittance is the client’s logo with their address, and it will appear in the corner of the invoice. To change the default remittance logo, click on the Change link located under the logo in the Remittance section.

A pop-up window titled, “Remittances,” will appear. In this pop-up window, any remittances you have added to Bilflo will be displayed. Click on the Choose button next to the image you want to use.
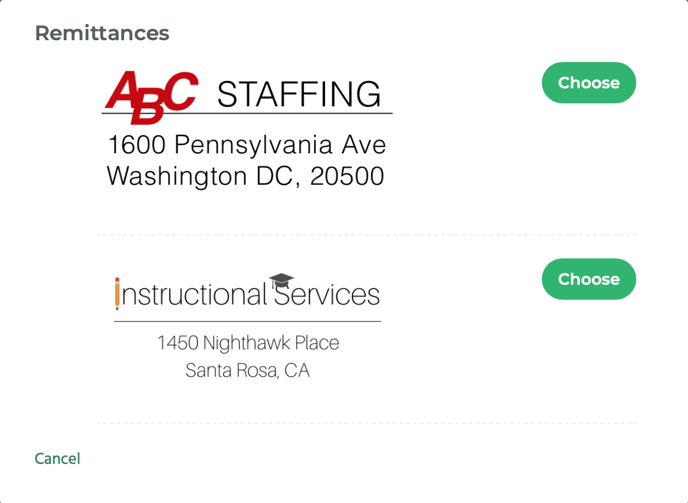
That image is now displayed under the Remittance section.

Mailing Options
In this section you have several options. You can have the invoices mailed by selecting the checkbox next to Mail Invoices. You can also put the client mailing address in the invoice footer by selecting the checkbox next to Put Address in Footer.
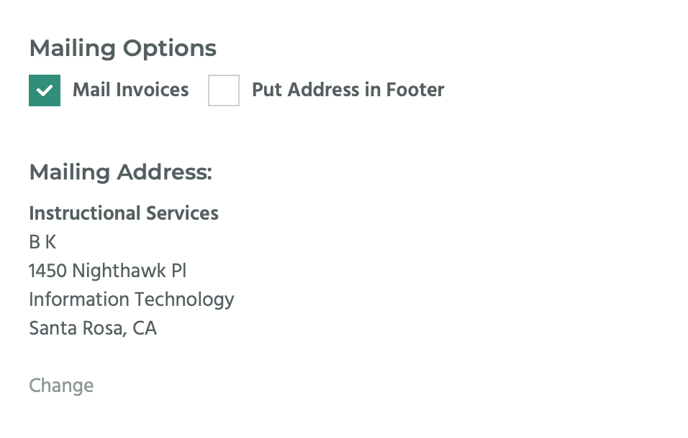
The client mailing address is listed under Mailing Address. To change this address, click on the Change link. A pop-up window titled, “Addresses,” will appear. It will list any of the addresses associated with this client. Click on the Choose button next to the address you want to use for the invoice.
[img11]
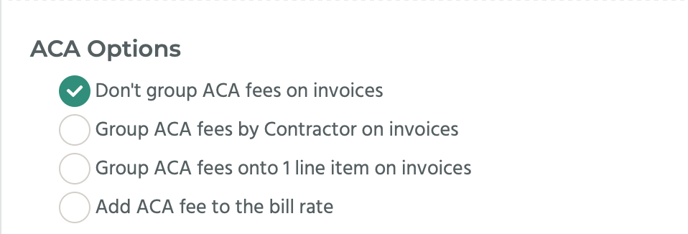
ACA Options
In this section you have several options with radio buttons next to them. They are:
- Don’t group ACA fees on invoices
- Group ACA fees by Contractor on invoices
- Group ACA fees onto 1 line item on invoices
- Add ACA fee to the bill rate
📎 NOTE: ACA stands for the Affordable Care Act and these options are referencing ACA Regular Time (PBI).
Click on the radio button next to the option you want to use on the invoice.
Display Options
Under Display Options there’s only one option listed: Group Sick Time with Regular Time. Select the checkbox next to this option if you want to group sick time pay with regular time pay.

Payment Terms
In this section is a drop-down menu with various options such as Net 7, Net 10, Net 15, etc.
📎 NOTE: Payment Terms is equivalent to “Net Terms,” in other words the number of days that the invoice is due after the start date. For example, Net 7 means that the invoice is due 7 days after the invoice date.

Select the option you want from the drop-down menu.
Template
In this section there is a drop-down menu. However, it only has one option, Standard, set as a default. You can learn how to create different templates in the How to Create Invoice Templates article.

Email Recipients
In this section you can add recipients to receive the invoices via email. Click on the Add Recipient button to add a recipient.

A drop-down menu and an Add button will appear. The drop-down menu will be populated with client contacts whose emails are in Bilflo’s system. Select a client contact from the drop-down menu and then click on the Add button.

The client contact has now been added. Repeat this process to add more email recipients.

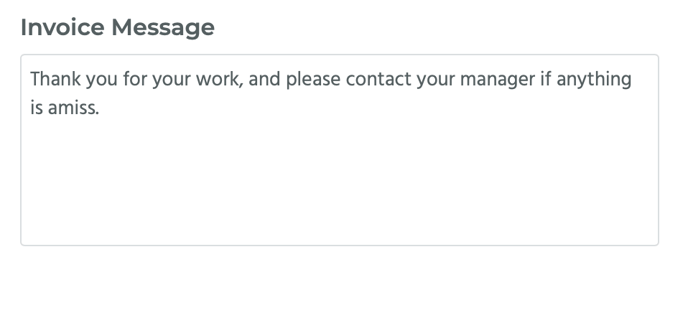
Invoice Message
In this section you can add a personalized message to be displayed on the invoice. Type your message into the provided text field.
Click on the Save Invoice Group button located at the bottom of the page to save your changes.

How to Rename an Invoice Group
Locate the invoice group you wish to rename on the Invoice Groups page. Click on its name.
This will take you to that invoice group’s detail page.
Click on the Change Name link located under the invoice group’s name.

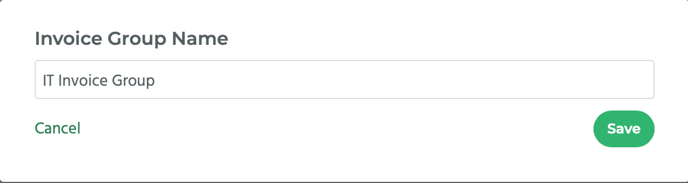
A pop-up window titled, “Invoice Group Name,” will appear. Enter the name you want into the provided text field, and then click on the Save button.
The invoice page’s name has now changed to reflect the text you entered.

📎 NOTE: You can change any of the details on the rest of the page in the same way you changed the ones on the default invoice group detail page.