This article covers how to set up compensation for team members.
Login to your company’s Admin account.
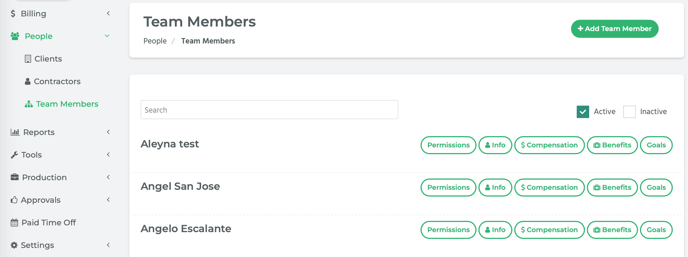
Type the team member’s name into the search bar to go to the team member’s detail page.

Alternatively, from the Navigation, go to People > Team Members. On the Team Member page, select the team member you are looking for from the list. This will take you to their detail page.
Scroll down the page to the team member Compensation section.

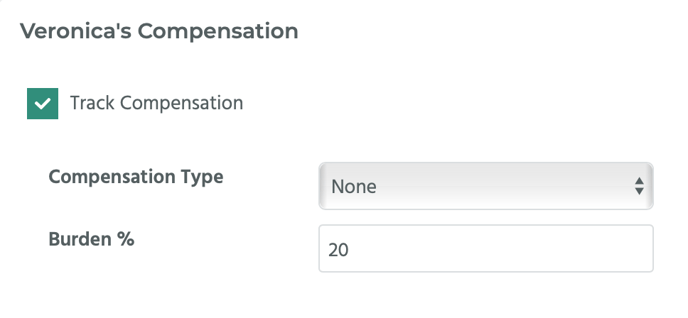
Check the box that says, Track Compensation. New sections and data fields will appear.
Select the Compensation Type from the drop-down menu. There are three options: Hourly, Salary, or None.
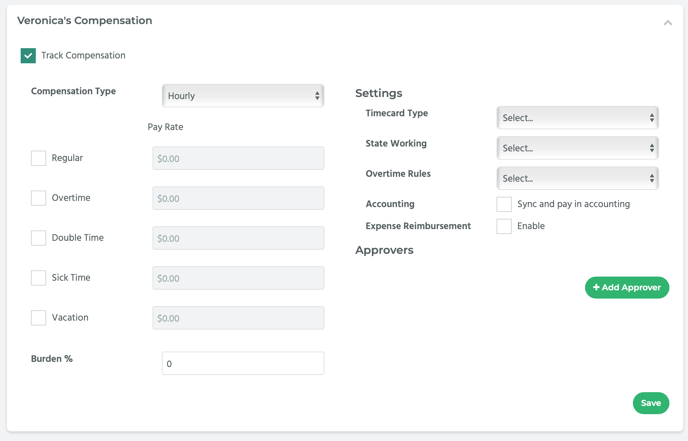
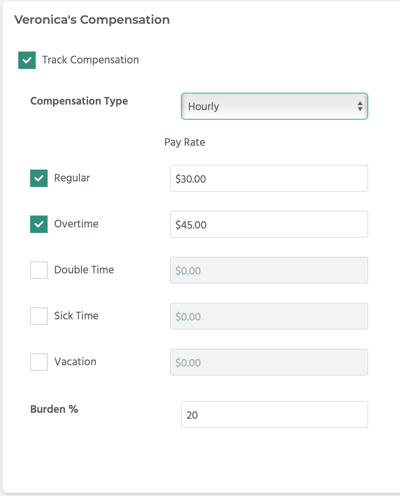
If you select Hourly, a Pay Rate section will appear with several fields: Regular, Overtime, Double Time, Sick Time, Vacation, and Burden %. Check the boxes that are applicable, and then enter the appropriate data. NOTE: This data should be available from your company’s own internal records.
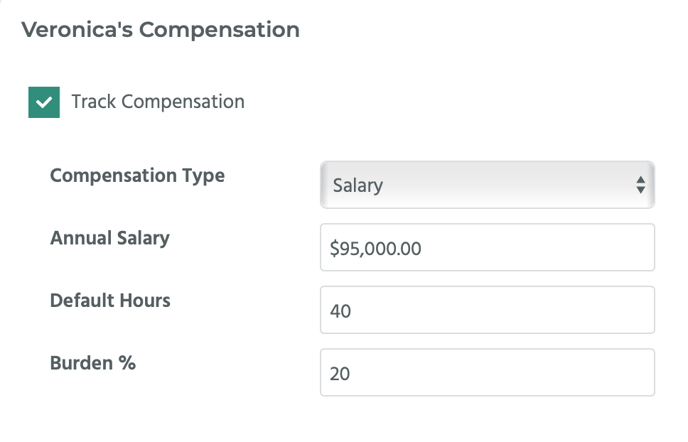
If you select Salary from the Compensation Type drop-down menu, new data fields will appear: Annual Salary, Default Hours (per timecard or per week), and Burden %. Enter the appropriate information into the fields.
If you select None from the Compensation Type drop-down menu, only the Burden % field will appear. Enter the team member’s burden amount into the field.
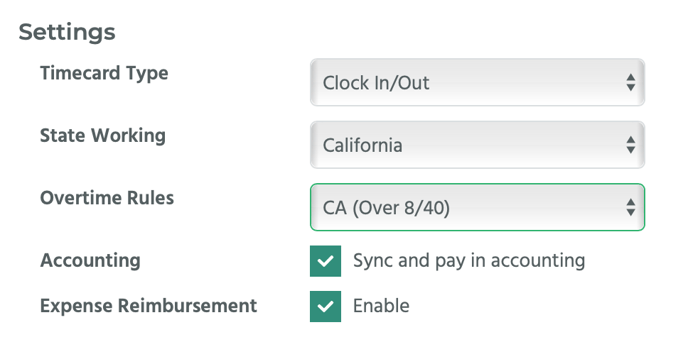
Under the Settings section, select which Timecard Type you’d like them to use from the drop-down menu. There are three options: Clock In/Out, Daily Timecard, and Salary. Choose the relevant option. Then, select the state they are working in from the State Working drop-down menu. The Overtime Rules drop-down menu will change to list only the overtime rules available for that state. Choose the one you want from the drop-down menu.
Check Sync and pay in accounting for Accounting if you want the timecards to be exported to the payroll system. Ensure a department is selected from the Departments drop-down menu in the Personal Information section of the page, otherwise you will receive a system error.
Check Enable for Expense Reimbursement if you want the team member to be able to submit expense reports.
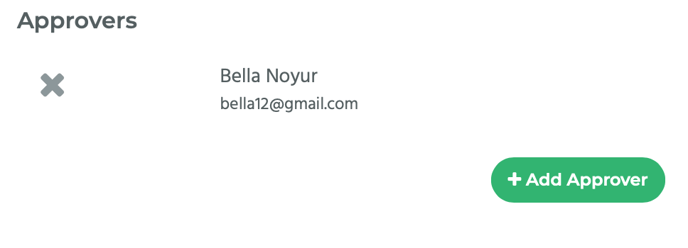
Under Approvers, click the Add Approver button if in order to add an approver.

A new row will appear under Approvers with a drop-down menu and an Add button. Select another team member as an approver from the drop-down menu. This person will approve the team member’s timecard on a regular basis.
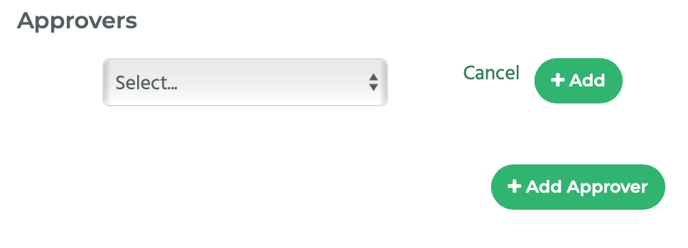
Click on the Add button to add the approver.
Once you’re done, click on the Save button in the top right hand corner of the page to save your changes.

