
This article covers some of the functionality of the Contract Overview page, such as: how to view and change specific contract entries.
This article covers how to view and change specific contract entries on the Contract Overview page. For information about how to filter and sort entries on this page, please view the How to Manage All Active Contract Jobs Part 1 (Table Overview) article.
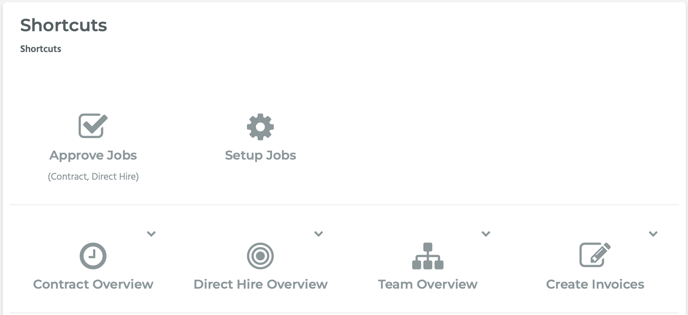
From the Home screen, click on the Contract Overview icon under Shortcuts.
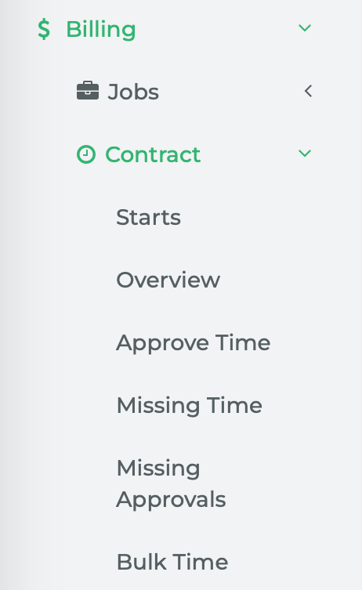
Alternatively, from the main navigation menu, go to Billing > Contract > Overview.
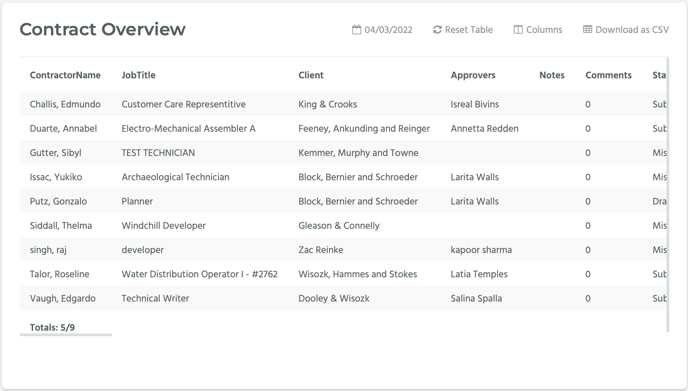
The Contract Overview page shows all active contract jobs and the timecards associated with those jobs within a specified period end date.
Viewing and Changing Specific Contract Entries
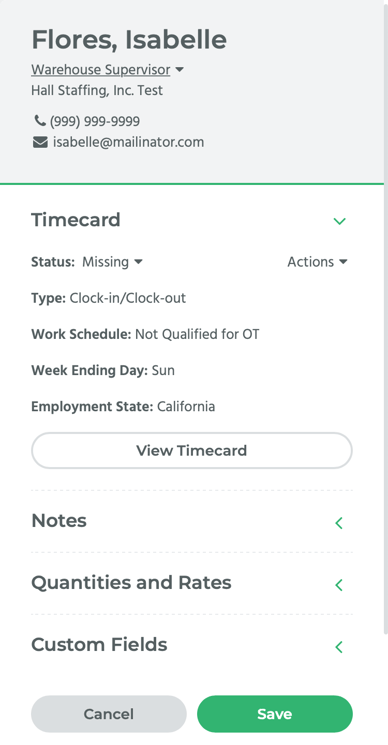
When you click on a specific record, a slide-out modal will appear. In this modal is the record’s information, such as: the contractor’s name, the client, the contractor’s phone number, the contractor’s email address, the status of the timecard, the type of timecard, the work schedule, the week ending day, the employment state, and a link to view the timecard.
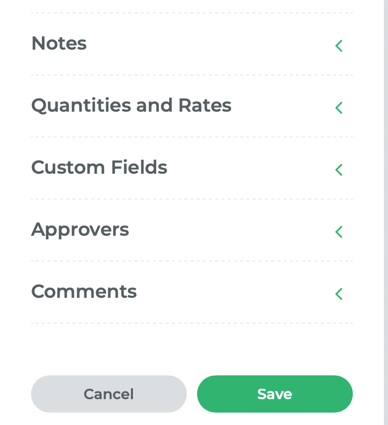
Other fields, such as Notes, Quantities and Rates, Custom Fields, Approvers, and Comments, are included in an accordion-style menu.
Viewing and Changing Timecard Details
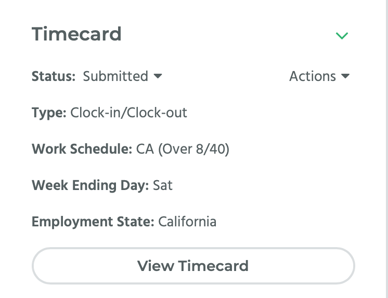
Click on the View Timecard button. This will take you to the timecard’s detail page.
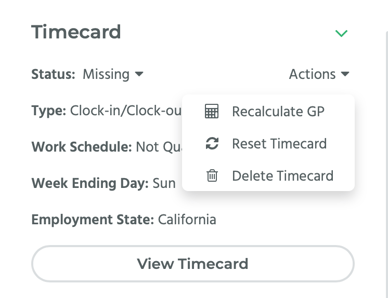
If you need to recalculate a timecard’s GP, reset a timecard, or delete a timecard, click on the record you need to change, and in the slide out modal, click on the Actions dropdown menu and select either Recalculate GP, Reset Timecard, or Delete Timecard, as needed.
If you select Recalculate GP, a pop-up window will appear with text asking, “Are you sure you want to recalculate this timecard?” Click on the OK button. A notification will appear saying, “Timecard recalculated!”
If you select Reset Timecard, a pop-up window will appear with text asking, “Are you sure you want to reset this timecard? Timecard data will be deleted.” Click on the OK button. A notification will appear saying, “Timecard reset!” Otherwise, if the timecard is missing or processed, you may get an error message saying that the timecard was unable to be reset.
If you select Delete Timecard, a pop-up window will appear with text asking, “Are you sure you want to delete this timecard? This action cannot be undone.” Click on the OK button. A notification will appear saying, “Deleted Time Card!”
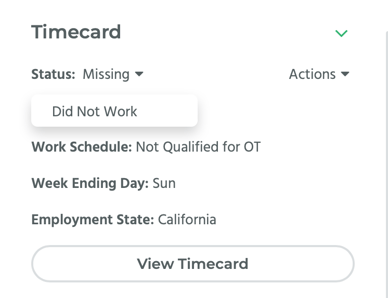
To change a timecard with a missing status to a did not work status, click on the record you need to change, and in the slide out modal, next to Status, click on Missing. A dropdown menu will appear. Select Did Not Work. Click on the Save button to save your changes.
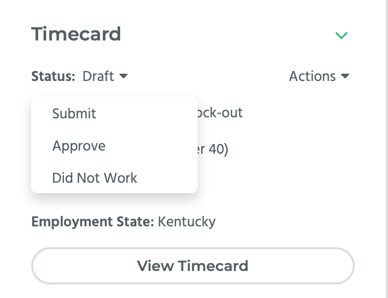
To change a timecard with a draft status, click on the record you need to change, and in the slide out modal, next to Status, click on Draft. A dropdown menu will appear with several options: Submit, Approve, and Did Not Work. Select Submit to submit the timecard; Approve to approve the timecard, and Did Not Work to reflect that the contractor did not work that day. Click on the Save button to save your changes.
The Work Schedule would apply to the overtime rules. If there are any overtime rules, they would be displayed next to the Work Schedule field in the timecard. Bulk Time doesn’t necessarily have overtime rules, so for that, the Work Schedule field would be blank.
How to Add a Note to a Contract Entry
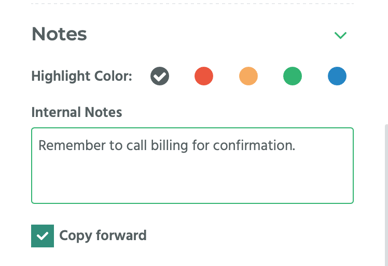
To add a note, click on the Notes accordion panel, enter your comment in the Internal Notes field. Select the Copy forward box if you want every additional period end date that exists to have the same note. Click on one of the available color swatches next to Highlight Color to choose your note’s text color. Click on the Save button to save your changes.
How to View Quantities and Rates
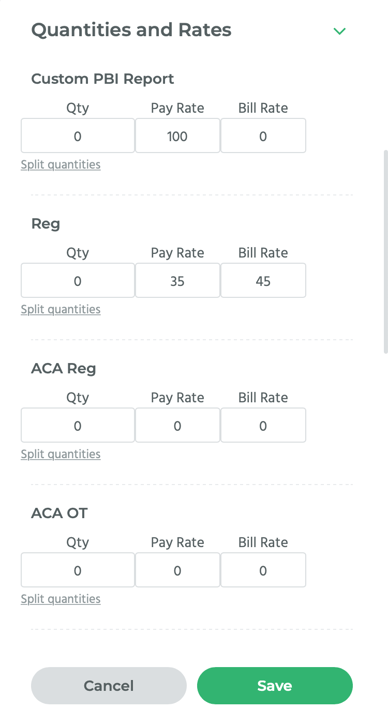
To update quantity and rates, click on the Quantity and Rates accordion panel. There you will find several sections and data fields. You can enter and change the timecard values (Pay Bill Items (PBI) Quantities and Rates as necessary. For more information about pay bill items, please refer to the How to Create and Edit Pay Bill Items article.
Click on the Save button after you have made your changes.
How to View Custom Field Entries

Click on the Custom Fields accordion panel to expand it. In this panel, there are the custom field names and data entered for this record. You can view the How to Create Custom Fields article to learn more about custom fields.
How to View Approvers and their Contact Info
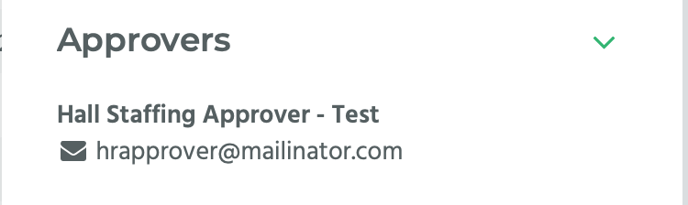
Click on the Approvers accordion panel to expand it. In this panel will be a list of any approvers and their contact information (email address, phone number, etc.). Certain contract job collection methods don’t require an approver (such as Bulk Time and Third Party).
How to View Comments

Click on the Comments accordion panel to expand it. Any comments that exist on the contract job would be displayed here.