This article covers how to search for, view, and select contractors, how to email contractors, how to view and edit a contractor's profile, and more.
Table of Contents
How to Navigate to the Contractors page
How to Change the Columns Displayed
How to Email Multiple Contractors
How to Download Contractors’ Data as a CSV
How to View and Edit a Contractor’s Profile
How to Change, Delete, or Add a Work Status
How to Enable or Change Health Insurance Benefits
How to View a Contractor’s Timecards
How to Navigate to the Contractors page
From the main navigation, go to People > Contractors.
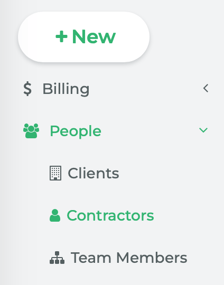
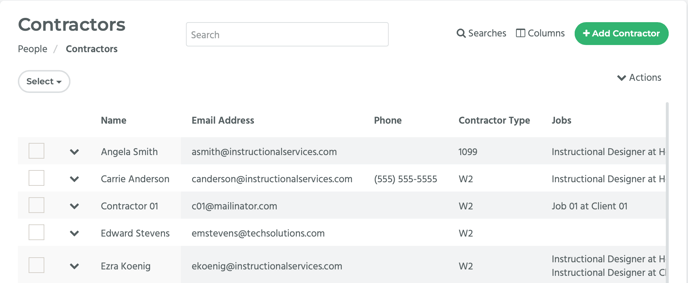
This will take you to the Contractors page. All of the contractors are listed on this page.
How to Use the Search Bar
At the top of the page is a Search Bar. Enter the name of the contractor you’re looking for (can be the first or last name) and hit enter.

The page will now display only the contractor (or contractors) with that name or that have that arrangement of letters in their name.

How to Change the Columns Displayed
Click on the Columns link at the top of the page.

A pop-up window will appear with a list of column names. You can determine which columns will be displayed by selecting the checkbox next to the Column Name.
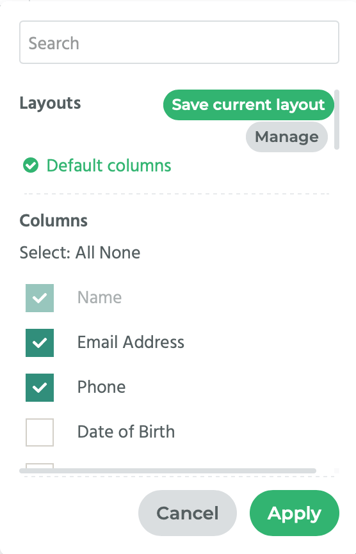
After selecting the columns you want to be displayed, you can click on the Apply button to change the page to only display the columns you selected. Alternatively, you can save the display you choose by clicking on the Save current layout button.
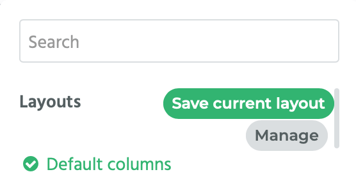
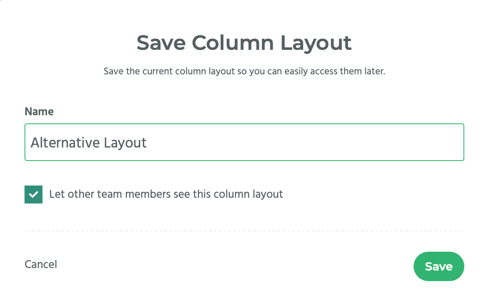
A pop-up window will appear titled, “Save Column Layout.” Enter a name for your column layout into the Name field. Select the Let other team members see this column layout checkbox if you want other team members to be able to see this layout. Then, click on the Save button.
Note that the columns displayed on the page now match the ones you selected in your layout. Also note that the name of the column layout you just created is listed under Layouts in the Columns pop-up window.
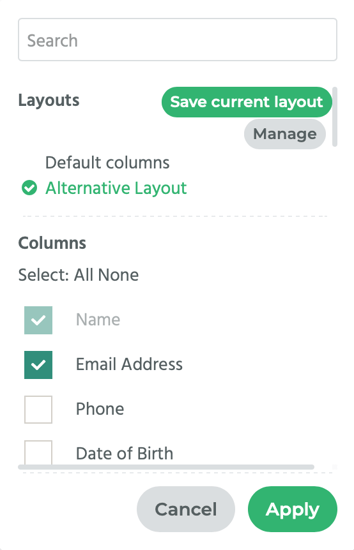
📎 NOTE: You can use the Search bar at the top of the pop-up window to easily search for different saved layouts.
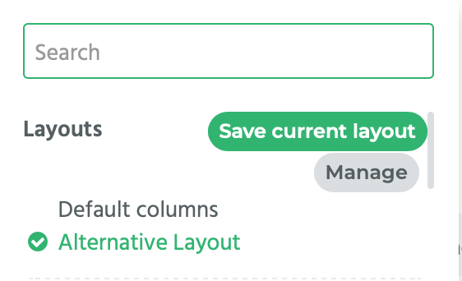
To edit a layout, click on the Manage button.
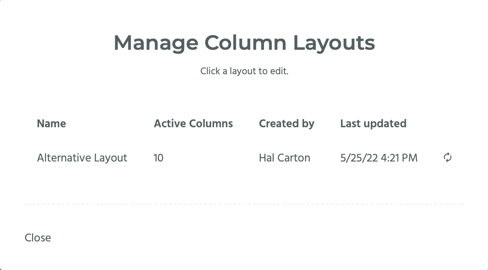
A pop-up window titled, “Manage Column Layouts,” will appear. There will be a list of the different layouts with the layout name, number of active columns, who the layout was created by, and the date it was last updated. Select the layout you want to edit from the list.
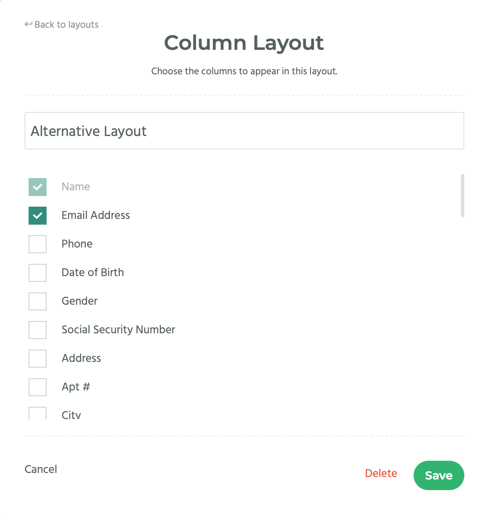
Another window will appear titled, “Column Layout.” In this window you can change the name of the layout, deselect columns or select more columns from the list of columns. After you have made your changes, click on the Save button.
If you want to delete this layout, click on the Delete link.
How to Select Contractors
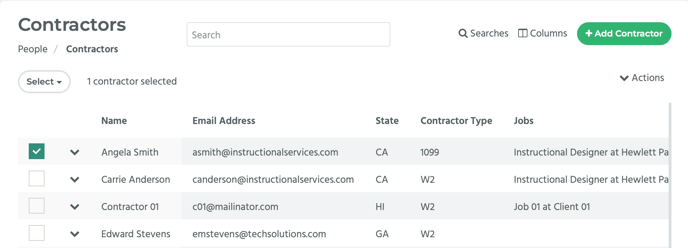
To select a contractor, click on the checkbox next to their name.
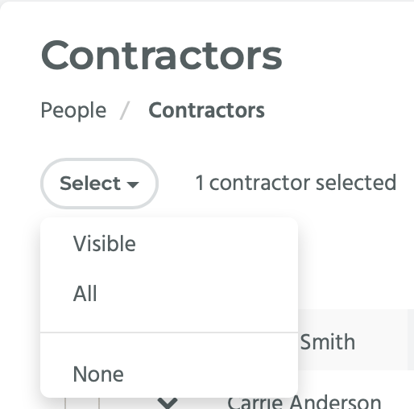
To select (or deselect) multiple contractors, click on the Select button located in the top left hand side of the page. A drop-down menu will appear with several options: Visible, All, or None. Note: The Contractors page currently only loads 50 contractors at a time. Selecting Visible will select the 50 contractors that are currently visible. Selecting All will select all of the contractors listed. Selecting None will deselect any contractors that have been selected.
How to Email Multiple Contractors
Select the contractors you want to email.
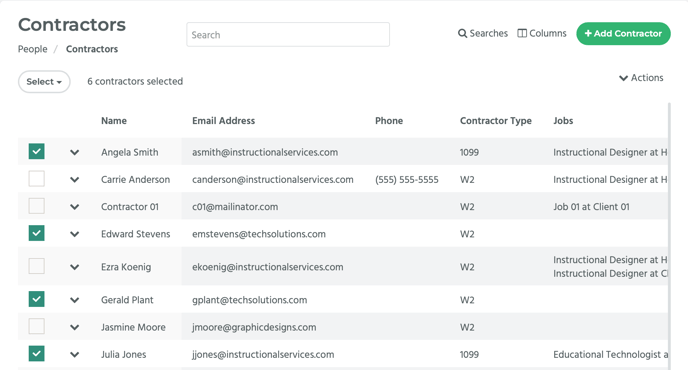
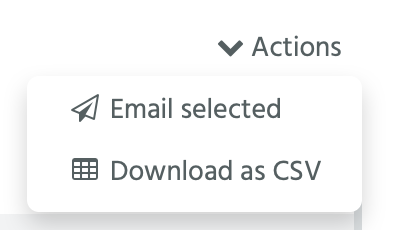
Click on the Actions button located on the top right hand side of the page. A drop-down menu will appear. Select Email selected. The contractors you selected will be emailed.
How to Download Contractors’ Data as a CSV
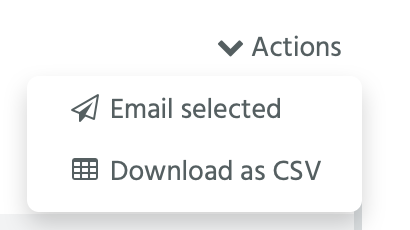
Click on the Actions button located on the top right hand side of the page. A drop-down menu will appear. Select Download as CSV. The information on the page will be downloaded as a CSV.
📎 NOTE: All of the columns will be downloaded, not just the ones you chose in your layout and are displayed on the page.

How to View and Edit a Contractor’s Profile
Next to each contractor’s name is an arrow. Click on the arrow. A drop-down menu will appear. Select Profile. This will take you to the contractor’s detail page.

Alternatively, clicking on the contractor’s name will take you to their detail page.

Once you are on the contractor’s detail page you can edit it.
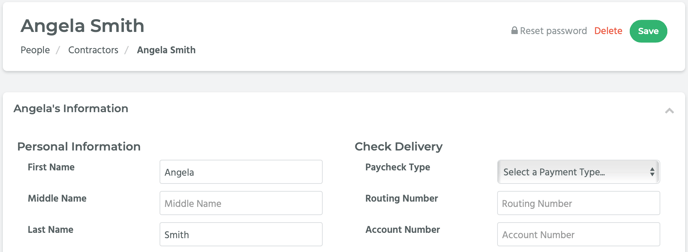
There are several different sections to the page. The contractor’s information section includes Personal Information, Check Delivery, State Taxes, Federal Taxes, and any Custom Fields you have created in Bilflo.
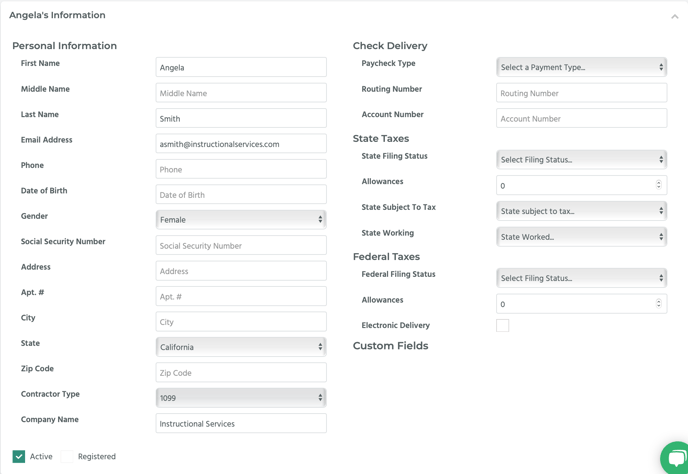
You can refer to the How to Create a New Contractor article for more information about the fields in this section.
The contractor’s job section includes a list of jobs held by the contractor.

Each row had an arrow. Click on the arrow. A drop-down menu with two options, Timecards and Invoice Group, will appear.

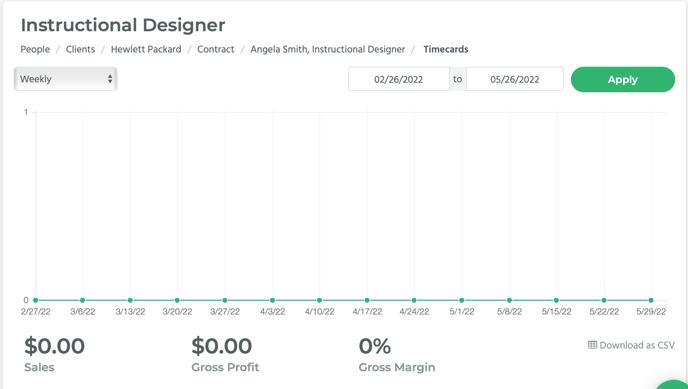
Selecting Timecards will take you to that contract job’s timecards page.
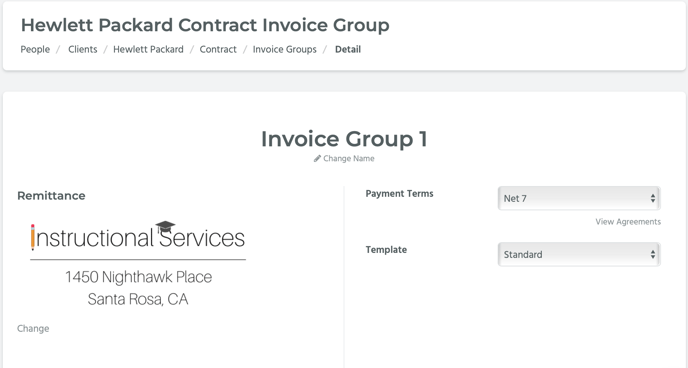
Selecting Invoice Group will take you to that contract job’s invoice group.
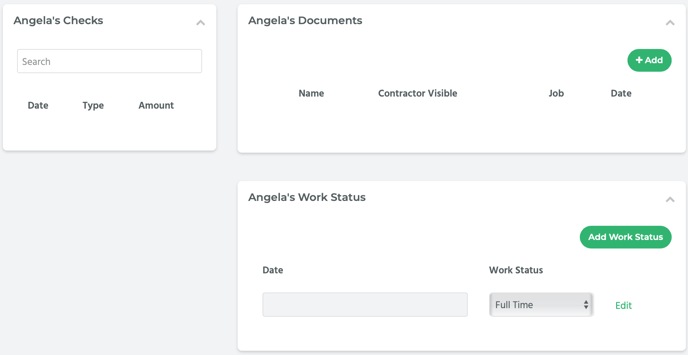
The contractor’s checks section shows any checks the contractor has received. The contractor’s documents section shows any of the contractor’s documents, and the contractor’s work status section shows their work status.
How to Add Documents
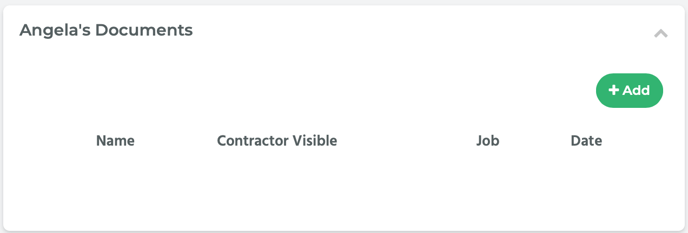
In the contractor’s documents section, click on the Add button.
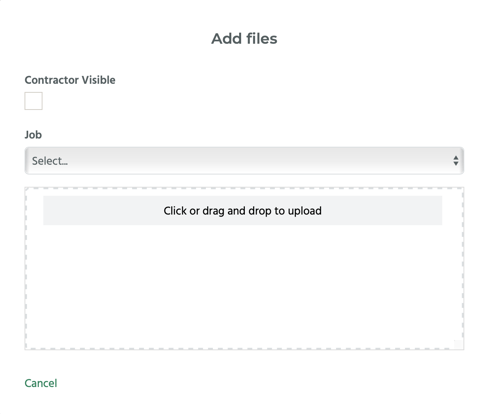
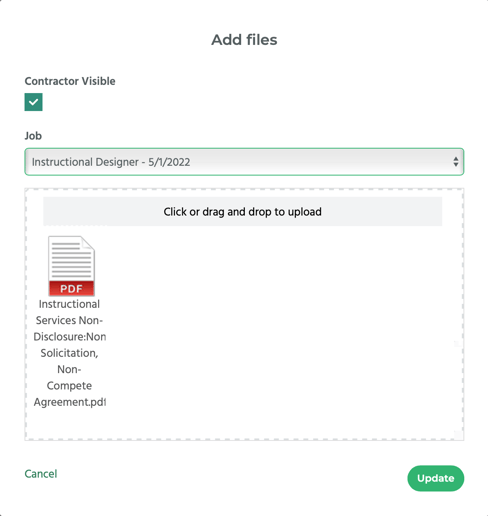
A pop-up window titled, “Add files,” will appear. Select the Contractor Visible checkbox if you want the contractor to be able to view this document. Select the contract job this document is for from the Job drop-down menu. Drag and drop the document into the drag and drop box. Alternatively, click on the box to search through your computers’ files and upload the document.
After you have done so, an Update button will appear. Click on it to save the document in Bilflo.
The document is now listed in the contractor’s documents section of their detail page.
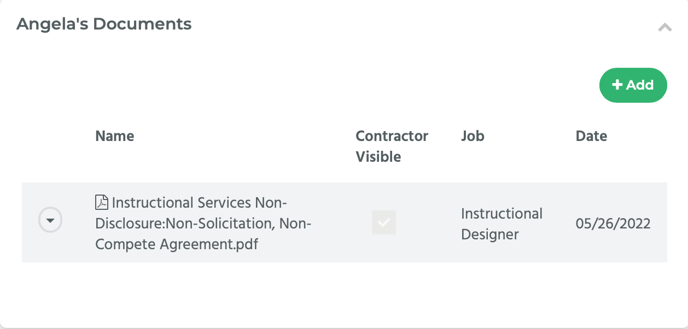
Note that each document has an arrow next to it. Click on the arrow. A drop-down menu will appear with five different options: Preview, Download, Email, Edit, and Delete.
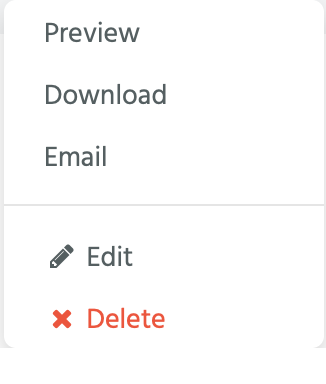
- Preview allows you to view the document in a separate window.
- Download allows you to download the document.
- Email allows you to email the document.
- Edit allows you to change the document’s visibility and the contract job it’s associated with.
- Delete allows you to delete the document from Bilflo.
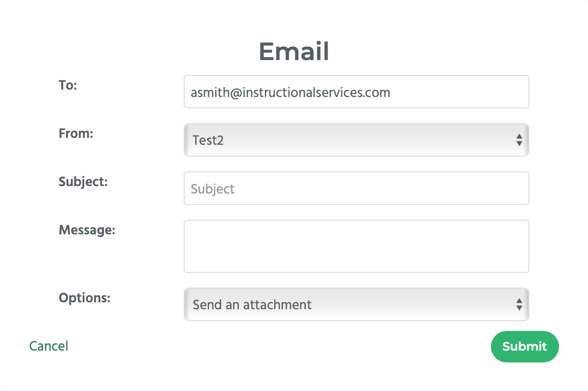
If you select Email from the drop-down menu, a pop-up window titled, “Email,” will appear. The To field will be auto populated with the contractor’s email address, though you can change it to another email address. The From drop-down menu is auto populated with your company name. Enter an email subject into the Subject field and the body of your email into the Message field. The Options drop-down menu allows you to send the document as either an attachment or a link. Select the option you want. Click on the Submit button to send the email.
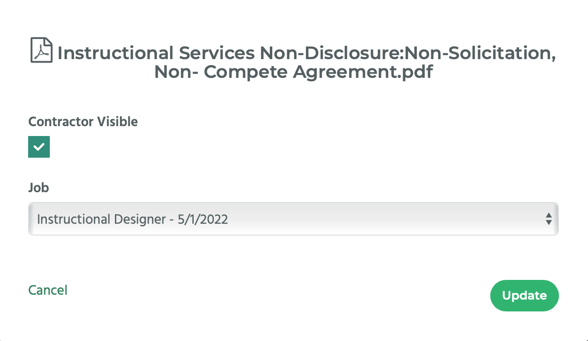
If you select Edit from the drop-down menu, a pop-up window will appear with the document’s title. There will be a Contractor Visible checkbox and a Job drop-down menu. Make any changes you wish, and then click on the Update button.
How to Change, Delete, or Add a Work Status
Change
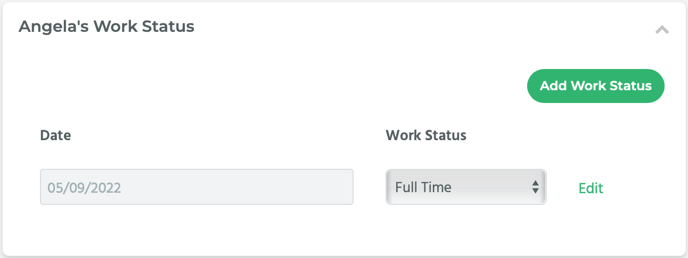
To change a work status, in the Work Status section of the page, click on the Edit link next to the work status you want to change.
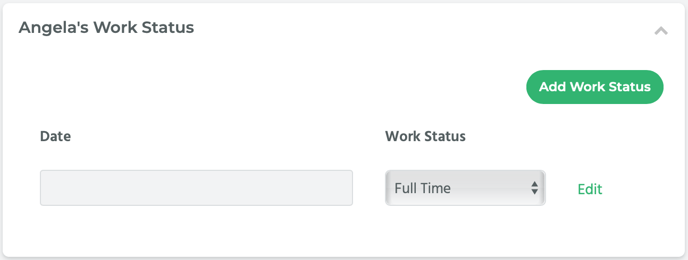
Enter a different date into the Date field or select a different work status (Full Time, Part Time, or Term) from the Work Status drop-down menu. Then, click on the Save link to save your changes.

Delete
To change a work status, in the Work Status section of the page, click on the Edit link next to the work status you want to change.
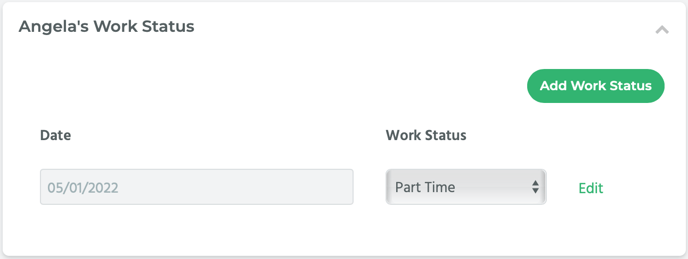
Then, click on the Delete link.

A pop-up window will appear asking if you are sure you want to delete the work status. Select OK. The work status is no longer listed in the work status section.

Add
Click on the Add Work Status button in the Work Status section.

A row with data fields will appear. Enter a date into the Date field and select work status from the Work Status drop-down menu. Then, click on the Save link to save your changes.

The work status you just created is now listed in the Work Status section.
How to Enable or Change Health Insurance Benefits
Enable
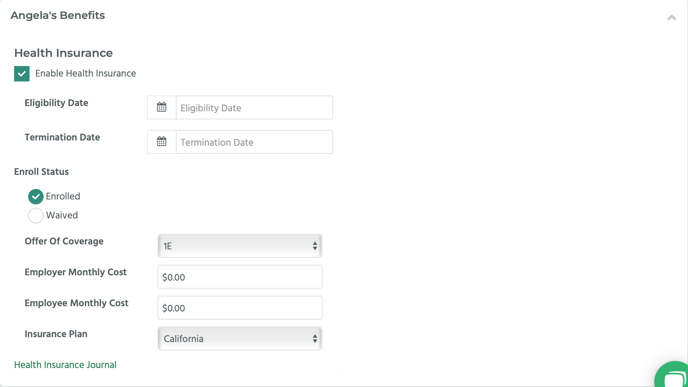
In the Benefits section, under Health Insurance, select the Enable Health Insurance checkbox.

New data fields will appear. Enter the appropriate information. You can refer to the How to Create a Contractor article for more information.
Change
In the Benefits section, under Health Insurance, are several fields. Change any of the data entered.
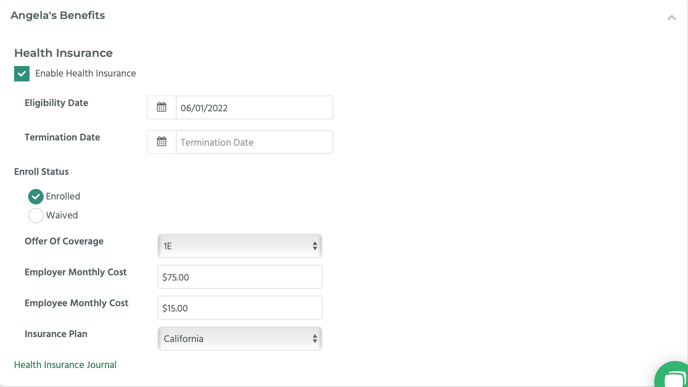
After you have made all of the edits you need to, click on the Save button located in the top right hand corner of the page to save your changes.

How to View a Contractor’s Timecards
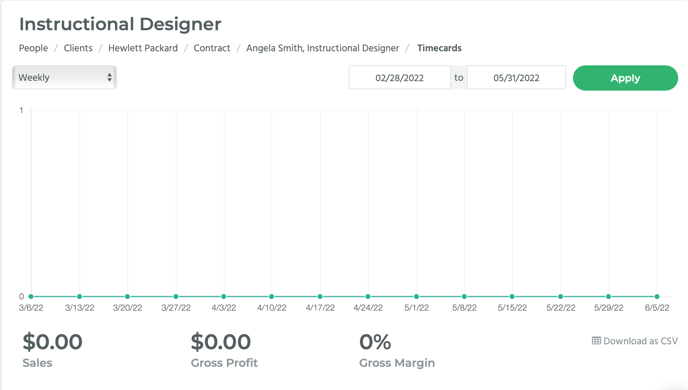
Next to each contractor’s name is an arrow. Click on the arrow. A drop-down menu will appear. Select Timecards.

This will take you to the contractor’s Timecards page. Refer to the How to View and Edit Timecards article for more information about this page.
How to Delete a Contractor
Next to each contractor’s name is an arrow. Click on the arrow. A drop-down menu will appear. Select Delete.

A pop-up window asking if you are sure you want to delete the contractor will appear. Click on the OK button.

If the contractor is associated with a job, an error message will appear saying that you can’t delete this contractor because they are associated with a job. If not, the contractor will be deleted and will no longer be listed on the Contractors page.
