
This article covers the steps to create a new contract assignment.
From the Navigation, select New and then select Contract. The fields for the new contractor assignment appear.

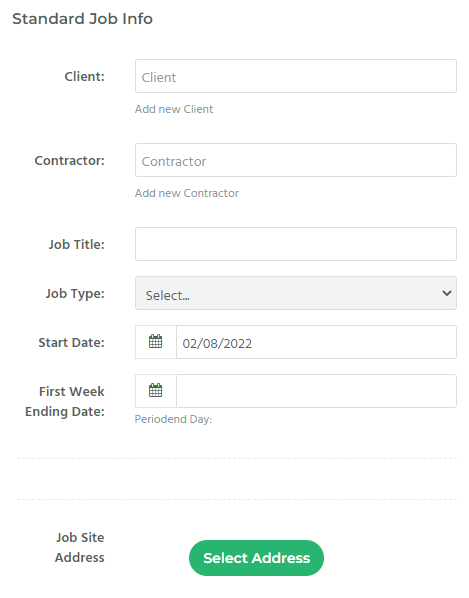
In the Standard Job Info section, enter the business name in the Client field.
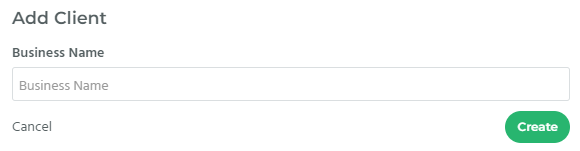
If the Client is a new client, you can select Add new Client. You are now able to enter the Business Name for the new client. Click Create.
If the new client already exists, an on screen notification will appear, and you will be able to enter the client name on the original field.

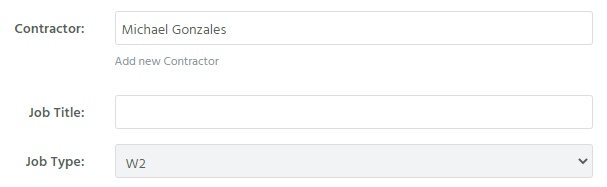
Enter the name of the associated contractor in the Contractor field.

If the contractor is a new contractor, you can select Add new Contractor. A New Contractor Profile will appear. For more information on adding contractors see How to Create a Contractor.
Enter the Job Title.
The field Job Type will automatically populate with W2 or 1099 based on the information entered in the Contractor field.
Enter the contractor Start Date.
Enter the First Week Ending Date. The first week ending date is the last date of the first week’s time card.

The contents of the Burdens section is determined by the configured burdens settings. For more information on burdens see the article How to Set Up Burdens.

In the Time and Pay section, enter the Time Collection Method.
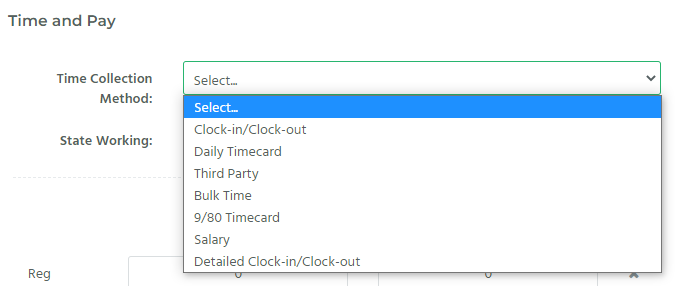
Select the State Working to indicate the state in which work will take place.
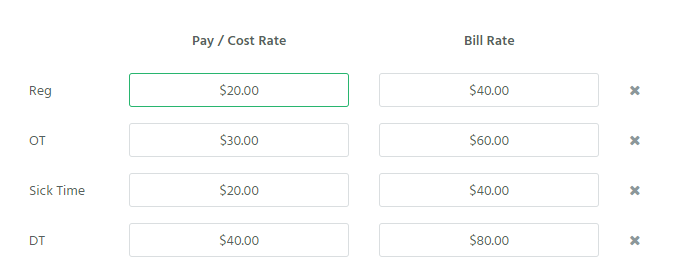
Enter the pay/bill items with the applicable Pay Rates and Bill Rates for Regular Time, Over Time, and Double Time. Some information may auto populate based on a placement record from your applicant tracking system.
In the Overtime Rules field select the rule associated with this contract assignment. Based on the overtime rule selected, additional check boxes may appear. Click any checkboxes for any applicable overtime rule settings.

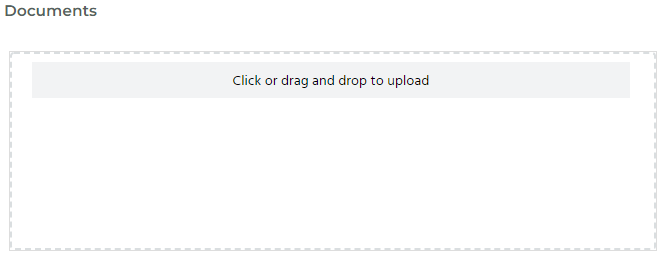
In the Documents section, drag and drop any documents related to the contract assignment.
In the Per Diem section, select Eligible for Per Diem if the contractor is eligible to receive per diem.
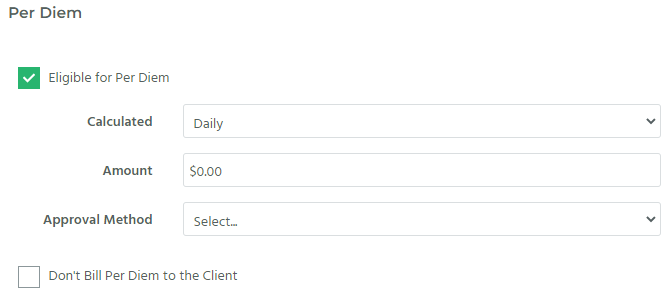
In the Calculated field. Select Daily or Weekly to indicate the per diem frequency.
Enter the per diem rate in the Amount field.
Select the appropriate per diem Approval Method.
If per diem is not to be billed to the client, select Don’t Bill Per Diem to the Client. Leave this unchecked if per diem is to be billed to the client.
In the Expenses section if the contract assignment is eligible for expenses check Eligible for Expenses.
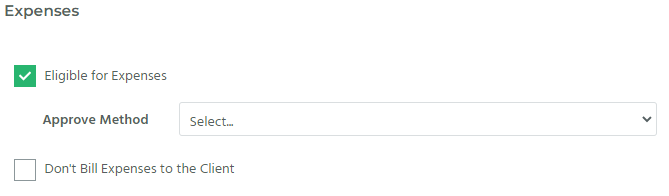
Select the appropriate per diem Approval Method.
If expenses are not to be billed to the client, select Don’t Bill Expenses to the Client. Leave this unchecked if expenses are to be billed to the client.
In the PO section, you can associate an existing purchase order to the contract assignment.
Select Add PO and select the associated PO from the drop down menu.
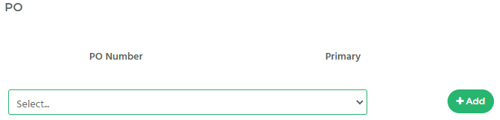
If a PO has not been created before creating this contract assignment, you can create the PO and then later associate it with the correct contact assignment.
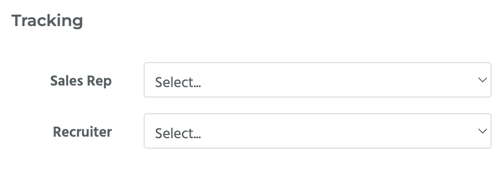
In the Tracking section, select the information for each field associated with the contract assignment.
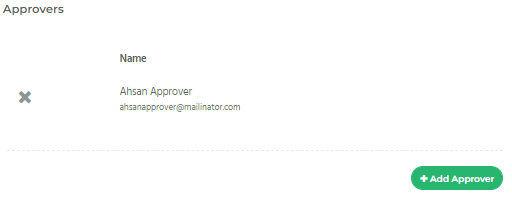
In the Approvers section, select an approver by selecting Add Approver. Approvers populate based on the information entered for the selected client.
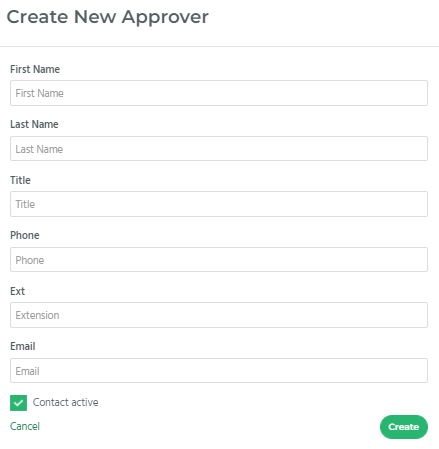
If there is no approver associated with the client, you will be asked to a Add Contract Job Approver. To add, select Add New.
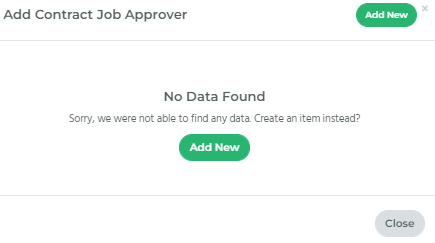
Add all relevant information for the approver in the fields that appear and click Create.
Once all information is entered, you can select, Save Draft or Save and Approve.
